Call Garreth, Cameron & Jack: 0115 647 8650

FREE UK shipping on orders over £100.00 & FREE gifts on checkout

Your garage NewAdd your car and see the parts that fit
Useful Links
Your Account

Talk to us

Garreth, Cameron & Jack · Mon to Fri
Call 0115 647 8650Free advice on your build
Thanks, that’s with us. We reply the same working day.
That didn’t send. Please give us a call instead.

Useful Links

Quick Access

Want to chat?

Call Garreth, Cameron, Jack
Today On: 0115 647 8650
Click Here For Our Contact Form


Eagle Talon 1G Bucket Seat and Fitting Guide

Plan the seat position before choosing the Talon’s cabin finish

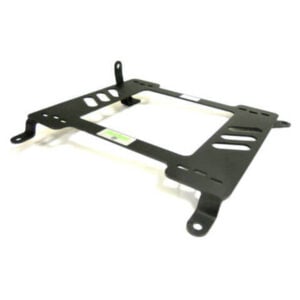
For a first-generation Talon seat enquiry, we would begin with the car’s build details and photographs of its existing fittings. The Planted application used here names the Eagle Talon alongside the Mitsubishi Eclipse for 1989-1994. Its SB048 family gives us the lower bracket to discuss for the actual car.

Garreth would try the seat shape with front entry and any rear access in mind. Cameron would build the height check around the chosen cushion and complete mounting assembly. If you use a helmet, include it before settling the driving position.

At a glance

  • This guide uses the maker’s 1989-1994 Talon and Eclipse SB048 application.
  • Our shared-model listing has separate physical-left and physical-right variations.
  • The maker calls physical left SB048DR and physical right SB048PA.
  • Specify the runner and Standard or Alternate pattern as one package.
  • Trial the completed height with the intended occupant and any helmet.
  • Check seat movement, belt access and the route to the rear before choosing the trim.

Identify the first-generation Talon and its fittings

Send the build information, original market and actual steering side with your enquiry. Include the drivetrain and photographs of the floor connections. Cameron can then check the proposed lower assembly against the car in front of you.

The application years here describe Planted’s bracket listing.

The later SB236 catalogue family needs its separate generation check. An imported or converted Talon should be described by its actual arrangement. If the floor has been repaired or altered around a cage, include that work in the photographs.

Start with the Talon’s SB048 catalogue entry

The current Eclipse and Eagle Talon listing below carries our shop reference SB048-5071. Choose its physical side after confirming the full supplied maker reference. The left shop variation is SB048-5071DR and the right is SB048-5071PA.

Quote one identified assembly for each seat position you want to change.

Garreth would put the seat choice beside that bracket on the enquiry. Cameron would add the exact runner and any upper supports needed by the shell. Confirm the complete connection before ordering the individual components.

Put the physical side beside the complete reference

Planted’s Driver description means physical left in this application. Its Passenger description means physical right. Our shop options use the right-hand-drive labels shown in the table.

On a left-hand-drive Talon, the driver sits on the physical left.

Use left and right with Cameron when describing an imported or converted car. Check the two sides independently if you are planning a pair. Keep the maker code beside each position on the quotation.

First-generation Talon bracket references by physical side
Physical sideMaker referenceCurrent shop option
LeftSB048DRRHD Passenger Side
RightSB048PARHD Driver Side

Try a fixed seat with the full entry route

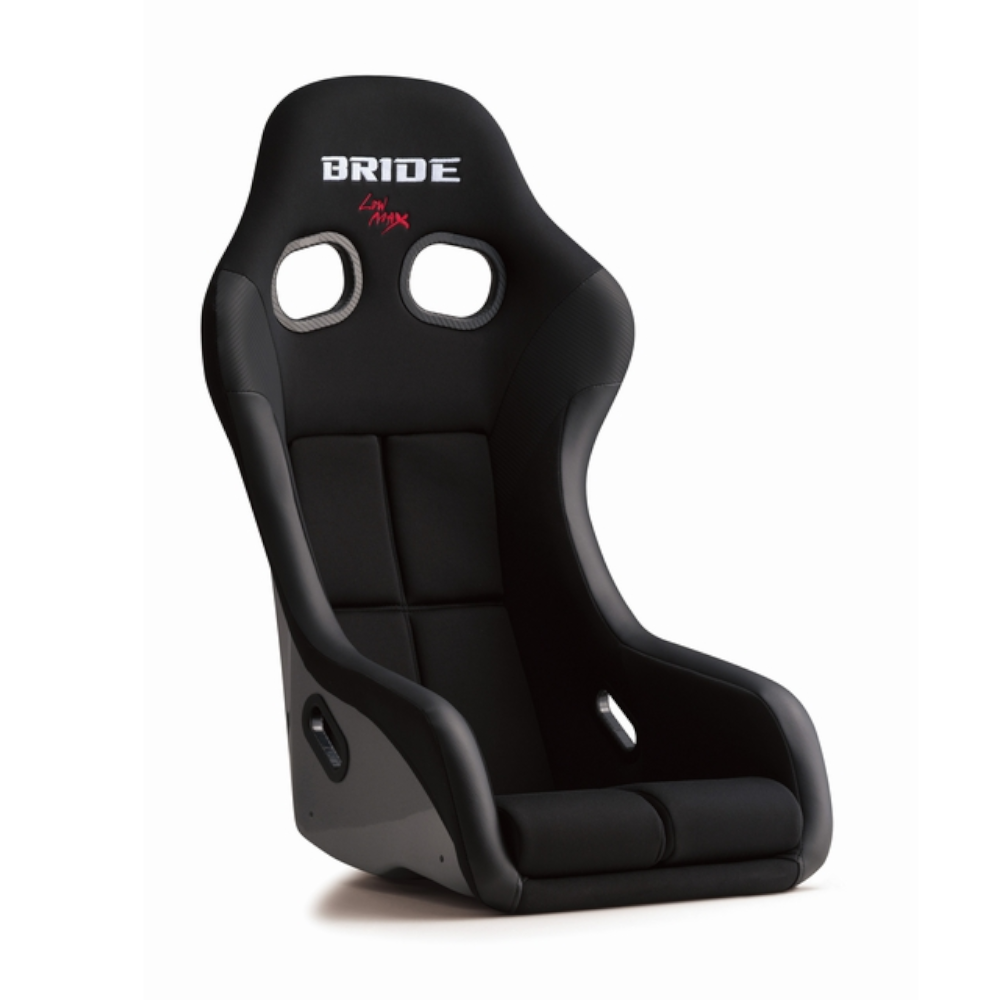
The Sparco Sprint, Cobra Monaco Pro and BRIDE ZETA IV are fixed-seat options to try for the Talon. Start with the cushion and the support around your hips and shoulders. Check the exact seat version before choosing its upper mounting hardware.

Garreth would get into the seat several times before settling on the bolster shape. Cameron would check the shell against the door and tunnel with the lower assembly in place. Include the space needed to reach the buckle and adjustment handle.

Use the ZETA IV drawing for separate size checks

BRIDE’s ZETA IV drawing gives 560mm outer shoulder width and 460mm lower front width. It also gives 890mm overall height and 710mm side-view length. The bars below use the same scale for those four measurements.

These are outer seat dimensions, so try the seat for occupant comfort as well.

Cameron would use the shoulder width beside the Talon’s door and the lower width beside the tunnel. Include the completed mounting hardware when checking the height. The drawing alone cannot establish cabin clearance.

BRIDE ZETA IV published outer dimensions drawn to a common scaleBars use 0.8 units per millimetre. Shoulder width 560, lower front width 460, overall height 890 and side-view length 710 millimetres. These are separate dimensions, not a seat silhouette or a cabin clearance drawing.BRIDE ZETA IV outer dimensionsOuter shoulder width560mmLower front width460mmOverall height890mmSide-view overall length710mm100mm scale reference
Source: BRIDE ZETA IV maker drawing. Check the exact shell version. Outer dimensions do not establish occupant size or clearance in the Talon.

Compare backrest movement and armrest space

The cloth-trimmed Sparco R100 gives you a reclining option to try alongside the fixed seats. Check the actual cushion and controls on the supplied version. Work through their clearance with the door shut and the seat in its intended position.

Cobra lists a tip-forward backrest as well as dual-sided recline for the Le Mans. Try that movement if access behind the front seats matters to your Talon. Include the release and sliding travel in the trial.

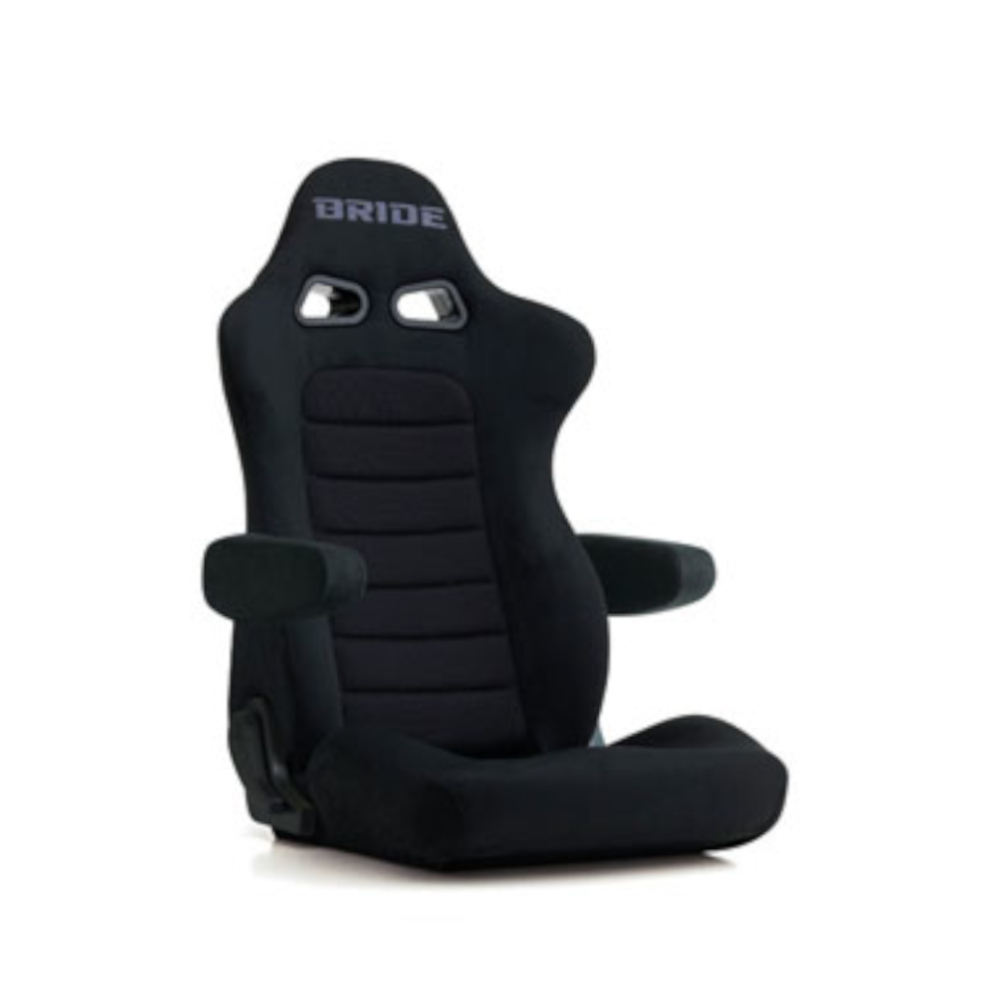
BRIDE describes optional armrests for the EUROSTER II CRUZ. Confirm the exact version and package contents before adding them to the seat choice. Any armrest needs room beside the door, tunnel and controls.

Garreth would settle comfort and movement before choosing the finish.

Match the bracket pattern to the actual runner

Planted offers Standard and Alternate slider patterns. Standard includes the Recaro connection; Alternate replaces that pattern with Cobra and Scheel-Mann. Put the supplied bracket version and full runner reference together on the quotation.

Cobra’s narrow and wide runners have different lower-connection requirements.

A wide Cobra runner needs the specified Alternate pattern or the maker’s described change to Standard. Ask Cameron to confirm the intended combination before ordering. The seat brand alone cannot identify every connection in that assembly.

Check the Sparco runner at both connections

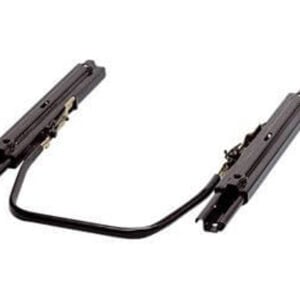
Include the full reference of the Sparco runner below if adjustment is part of the proposed seat package. Its seat-side fixing must match the chosen seat or upper supports. Its lower fixing must match the supplied Planted pattern.

Trial the handle where you can reach it from the seated position.

Cameron would check that both tracks move and lock through the range you need. Repeat that check with the seat in the car. Include the runner in the finished-height measurement.

Specify the Cobra runner version with the seat

For a Cobra seat enquiry, add the exact runner version to the parts list. The premium runner listing below needs the same narrow-or-wide pattern check. Confirm its supplied instructions alongside the bracket version.

Garreth would try the completed position before finalising the seat trim.

Check the control clearance and usable travel with the proposed seat fitted. Include any upper supports in that trial. Cameron can then work through the two fixing interfaces with the full references available.

Choose upper supports from the shell’s mounting points

A side-mounted shell needs upper supports that match its mounting points and lower assembly. The Sparco steel side-mount listing below is an option to check for the exact shell. Include its full reference with the seat and runner enquiry.

The support position contributes to both height and backrest angle.

Follow the selected components’ instructions for that combination. Trial the complete assembly before finalising the position in the Talon. A shared brand name does not settle the shell-to-runner connection.

Measure helmet clearance in the finished position

Compare the proposed seat and all lower hardware with the original driving position. The cushion and support setting contribute to the finished height. A listed SB048 bracket does not give a guaranteed lowering figure.

Use the intended helmet during the trial if you will wear one in the car.

Cameron would check clearance beside the roof and pillars with the chosen backrest angle. Include full pedal movement and comfortable wheel reach. Repeat the check through the adjustment range that will actually be used.

Try front entry and any rear-seat access

Set the seat for its usual occupant before trying entry and exit. Check the route over a fixed seat’s bolsters with the door open. If people use the rear seats, try that complete route with the proposed front assembly.

The Le Mans tip-forward feature still needs an in-car access trial.

A reclining mechanism alone does not establish forward-release movement. Garreth would compare how the chosen seats work during those everyday movements. Include the usable sliding travel before deciding on the final cabin finish.

Include the belt and buckle in the seat enquiry

Tell Cameron which belt you intend to retain or fit with the seat. Check the exact seat and restraint instructions together. The lower bracket’s vehicle application does not establish a complete harness installation.

Keep the buckle accessible in the finished seating position.

For a competition harness, provide its full reference and the intended anchorage arrangement. Confirm the routing against the component manufacturers’ instructions. Check reach and adjustment from the seat before putting the installation into use.

Follow the correct mounting route for the seat

Planted separates its instructions for base-mounted and side-mounted seats, with or without sliders. Choose the route that matches the actual components. Confirm the supplied parts and fixing specifications before assembly.

Record the original seating position as a reference for the trial.

Check the bracket against the actual floor before final assembly. Include previous repairs or changes around cage fittings in that inspection. Follow the selected seat, supports and runner instructions, then check the completed adjustment and locking action.

Common questions

Which Talon does this guide cover?

It uses Planted’s first-generation Eagle Talon and Mitsubishi Eclipse application, listed by the maker for 1989-1994. Send the actual build and original-market details. Later-generation Talons need a separate application check.

Why does the bracket listing also name the Eclipse?

Planted lists the two models together under its SB048 family. Our shared-model product entry reflects that application. Match the actual Talon, physical side and complete seat package before ordering.

Which bracket reference is physical left?

The maker uses SB048DR for physical left. Our current shared-model variation is SB048-5071DR under RHD Passenger Side. On a left-hand-drive car, this is the driver’s position.

Which reference is physical right?

The maker uses SB048PA for physical right. Our current shared-model variation is SB048-5071PA under RHD Driver Side. Describe the actual steering arrangement so the quotation identifies the intended position.

What do I need when changing a pair?

Specify one assembly for each physical side. Add each seat, its upper supports and the required runner or fixed connection. Check the completed position on both sides of the Talon.

How do I choose the slider pattern?

Confirm the exact runner and the Standard or Alternate Planted version together. Cobra narrow and wide runners have different requirements at that connection. Cameron can check the supplied references as a complete package.

Will removing sliders guarantee more headroom?

The finished position depends on the seat, cushion, supports and lower connection. Trial the actual proposed assembly with the intended occupant and helmet. Do not infer usable headroom from removing one component.

Why consider the Cobra Le Mans for rear access?

Cobra lists a tip-forward backrest as well as reclining adjustment. Try the release, forward movement and sliding travel in the Talon. The feature alone does not establish the complete entry route.

Do EUROSTER II CRUZ seats come with armrests?

BRIDE describes armrests as optional accessories. Confirm the exact seat version and supplied package contents with us. Check the space needed by any selected armrest and its controls.

What do the ZETA IV dimensions tell me?

They give the maker’s separate outer widths, overall height and side-view length. Use them for the exact shell’s size comparison. Occupant comfort and clearance in the Talon need their own trials.

What if my floor has been modified?

Send photographs of the existing connections and details of any repairs or cage-related changes. Planted’s installation instructions call for a check against the actual floor. The standard application alone cannot settle an altered arrangement.

What details help you recommend the full package?

Send the build, steering arrangement and photographs of the current fittings. Include the seats you want, the two physical positions and the adjustment or rear-access requirements. Tell us about helmet use so it goes into the finished-position trial.

Garreth’s top tip

Garreth would start with the way you get into and use the Talon. Try the cushion and bolsters, then work through any access needed behind the front seats. Choose the trim once the seat shape and movement suit that use.

Cameron’s fitting view

Cameron would record the physical side and full SB048 reference for each assembly. Match the exact runner pattern and upper connection before the parts are ordered. Trial the completed height with the intended occupant and helmet, including usable movement and control reach.

Plan your Eagle Talon 1G seat change

Free UK Shipping

On all orders above £100

Showroom

Try before you buy, by appointment

Delivery Tracking

Updates by email and text