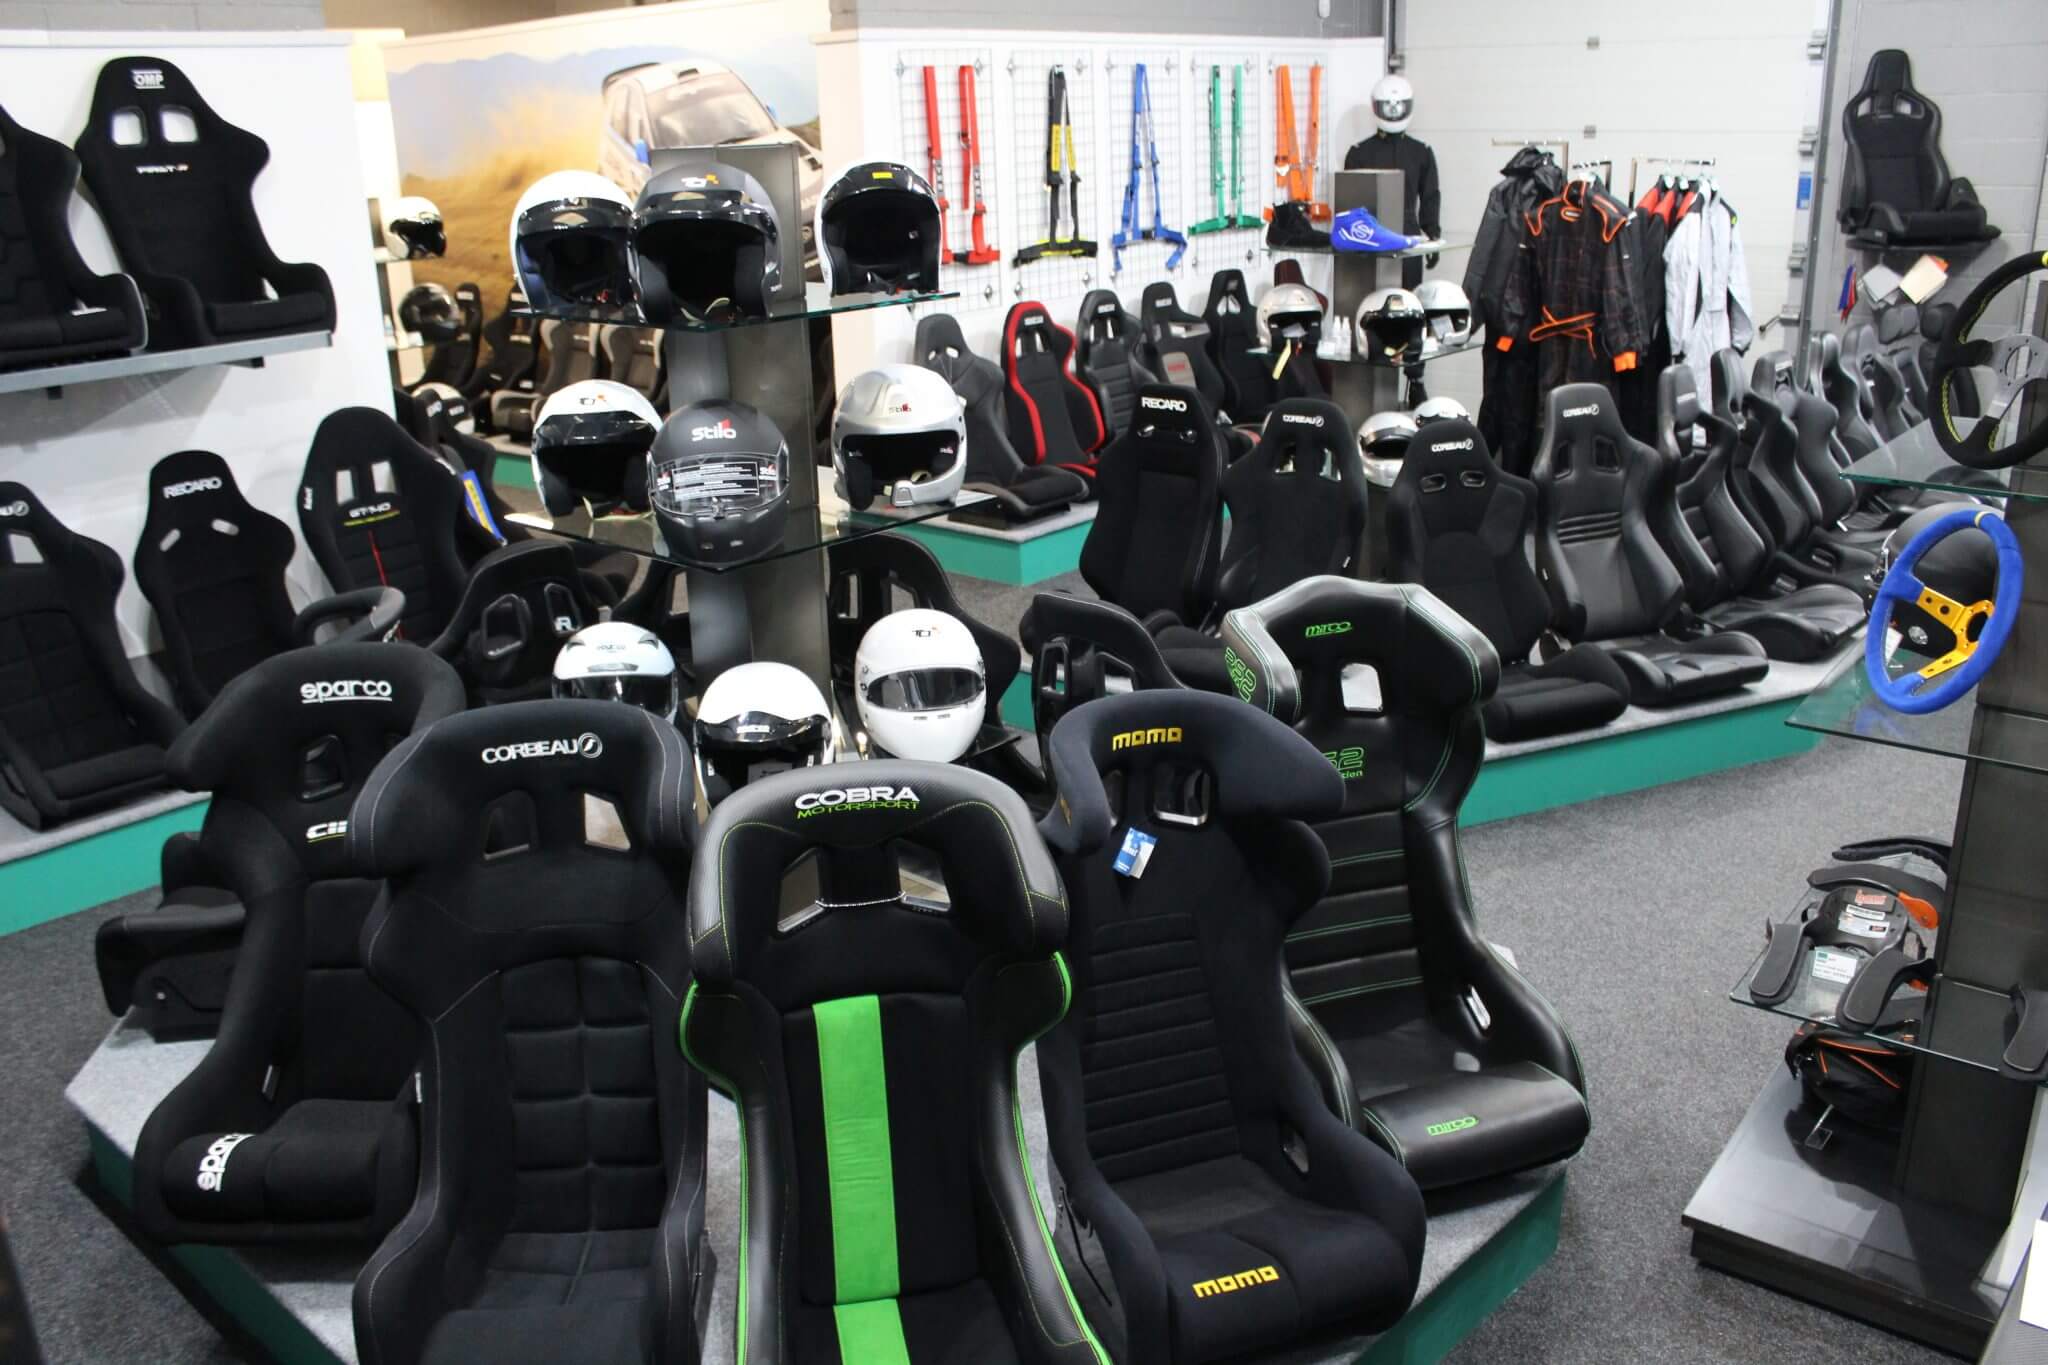
Chevrolet Chevelle (1968-1972) Bucket Seat and Fitting Guide
Plan the 1968-1972 Chevelle seat installation around SB224
The seat change for a 1968-1972 Chevrolet Chevelle starts with Planted’s SB224 application. Tell us the actual year and body configuration, then describe the support and adjustment you want. We can put the seat and its lower fittings on the same enquiry.
Garreth would try the proposed seat with the driver and the access needed in the car. Cameron would record the mounting arrangement already fitted before specifying replacement parts. Include any adapters you intend to keep.
At a glance
- Listed application: Chevrolet Chevelle 1968-1972, Planted SB224.
- Physical-left Standard reference SB224DR; physical-right SB224PA.
- Confirm Standard or Alternate pattern independently of the side choice.
- Include the body configuration, original market and present steering position.
- Try the complete position and the access needed behind the front seat.
- Each physical side needs its own confirmed bracket and upper fittings.
Start with the actual 1968-1972 car
Planted names Chevrolet Chevelle 1968-1972 on both SB224 applications. Keep that year range beside the exact vehicle details. An earlier or later car needs its own application check.
Send the original market and body configuration with the present steering position. Include photographs of the mounting area and current lower fittings. Cameron would use those details when confirming the bracket connection.
Show the current assembly before specifying replacement parts
Photograph the seat and the lower components already in the car, including any adapters or mounting changes that the installer can expose.
Tell us whether the present arrangement is a bench, individual seats or an earlier conversion. Identify anything proposed for reuse and have its condition checked. Keep original seat fittings labelled if you are putting them aside. Agree the new assembly against the actual mounts before dismantling the current one.
Try the support and the movement you need
Describe the driving you plan to do and what you want to change about the present seat. Try the exact fixed bucket or recliner with the actual driver. Garreth would compare cushion and backrest support with the clothing and equipment normally used.
Demonstrate entry and exit as well as any access required behind the front seat. Check which movement the chosen seat provides. A reclining backrest alone does not confirm suitable rear access.
Specify SB224 with the seat-side connections
The linked SB224 bracket is the vehicle connection for the proposed assembly. Confirm the physical side with the exact Chevelle application. Put the supplied pattern and upper mounting method on the same parts list.
A base-mounted seat needs compatible seat-side fittings. A side-mounted shell needs suitable supports, with runners included if adjustment is required. Have the hardware and each connection between those components specified together.
-
From £222.60 Incl. VATFrom £185.50 Excl. VATPayPal CreditSelect options This product has multiple variants. The options may be chosen on the product page


Match the physical side and runner pattern separately
Planted’s Standard references are SB224DR for physical left and SB224PA for physical right. The matching shop variations are labelled RHD Passenger Side and RHD Driver Side respectively. Keep the full reference and actual physical position together.
For an LHD car, physical left is the driver’s position even though the shop labels SB224DR RHD Passenger Side. Include the present steering arrangement when asking us to confirm the application. The label alone does not establish the exact vehicle floor.
Standard includes the Recaro slider pattern; Alternate replaces it with Cobra/Scheel-Mann. Agree the supplied version separately from the shop’s side choice. Then check the runner at its lower and upper attachments.
| Physical position | Standard reference | Alternate reference | Current shop label |
|---|---|---|---|
| Left | SB224DR | COBRA-SB224DR | RHD Passenger Side, SB224DR |
| Right | SB224PA | COBRA-SB224PA | RHD Driver Side, SB224PA |
Try the fixed buckets with the driver
The Cobra Monaco Pro, Sparco Sprint and OMP TRS-E are fixed-back options to compare for this enquiry. Their listings describe base and side mounting options. Confirm the permitted method for the precise seat version and itemise the fittings below it.
Try the shell with the driver seated and during entry and exit. Check its widest points against the surrounding cabin and any cage. Include the access behind the seat if you use that space. A matching bracket pattern does not establish clearance for every shell.
-
From £282.00 Incl. VATFrom £235.00 Excl. VATPayPal CreditKlarna ReadySelect options This product has multiple variants. The options may be chosen on the product page
-
From £252.00 Incl. VATFrom £210.00 Excl. VATPayPal CreditSelect options This product has multiple variants. The options may be chosen on the product page
-
From £244.40 Incl. VATFrom £203.67 Excl. VATPayPal CreditSelect options This product has multiple variants. The options may be chosen on the product page


Compare backrest adjustment and the controls you can reach
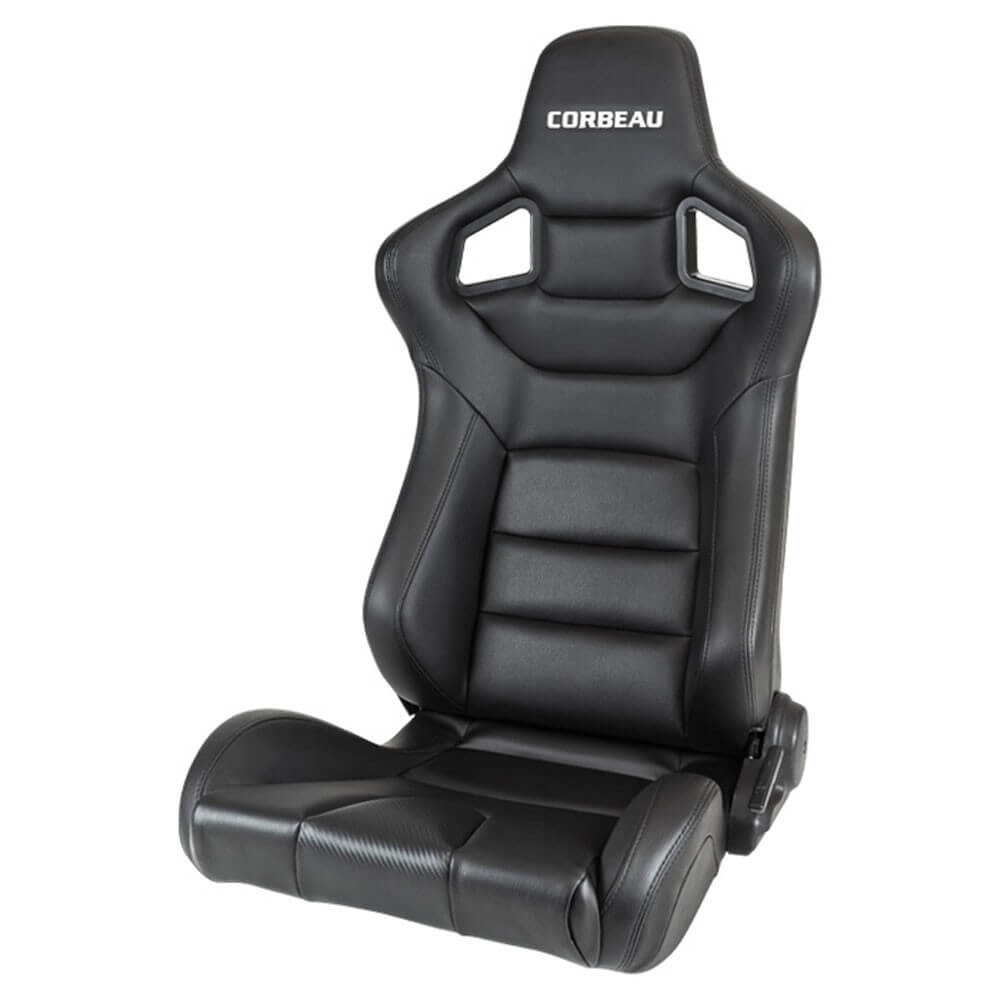
The Sparco R100, Corbeau Sportline RRS and Cobra Misano Anniversary are base-mounted reclining options to compare with the proposed lower fittings. Try the exact model’s cushion and backrest with the driver. Garreth would include control access when judging the position.
Check the backrest and runner movement through the range you intend to use. The linked RRS product supplies two seats. Ask for the bracket and lower components for each physical side to be listed separately.
-
From £282.00 Incl. VATFrom £235.00 Excl. VATPayPal CreditSelect options This product has multiple variants. The options may be chosen on the product page
-
From £1,649.00 Incl. VATFrom £1,374.17 Excl. VATPayPal CreditKlarna ReadySelect options This product has multiple variants. The options may be chosen on the product page




Confirm the Cobra runner dimensions with the bracket
The Cobra Premium runner listing has 291mm and 405mm handle-type options. Get the exact runner reference and attachment dimensions checked at both interfaces. A handle label alone does not confirm the complete bolt pattern.
Planted distinguishes Narrow and Wide Cobra slider patterns. Narrow is included on both bracket versions; Wide needs Alternate or a separately specified modification. Agree the supplied SB224 version before ordering the upper assembly.
-
From £84.00 Incl. VATFrom £70.00 Excl. VATPayPal CreditSelect options This product has multiple variants. The options may be chosen on the product page
Check the Sparco runner above and below
Use the linked Sparco runner as an adjustment option to assess with the seat. Its upper attachment must suit the seat or side supports. Match the lower attachment to the supplied SB224 pattern as well.
Try the handle and lock operation with the complete assembly in position. Include each regular driver’s required travel. Check the final height with the runner and supports fitted, using the actual driving equipment.

Choose supports for the exact side-mounted shell
The linked Sparco steel supports are an option for a seat that permits side mounting. Check their attachment positions against the shell and specify the lower connection to the runner or vehicle bracket. Use the instructions for the actual components.
For a base-mounted installation, specify its seat-side fittings separately.

Trial the finished position before final tightening
Compare the trial position with the present seat while the driver checks pedal reach and visibility. Include access to the other controls. Wear the usual helmet or other driving equipment where relevant.
Work through the adjustment and check the shell, handles and backrest against surrounding trim and any cage. Try getting in and out. Demonstrate any access needed behind the seat. Resolve contact and restricted controls during the trial.
Identify the existing restraints and seat equipment
Show the installer the actual belt and buckle attachments, along with any affected seat equipment or connections. Include changes made during an earlier conversion. Agree how those components will be dealt with before removing the existing assembly.
Follow the relevant seat, restraint and fitting instructions for the combination being installed.
Specify a harness installation with its anchors
If a harness is proposed, identify the exact model and intended use. Have its routing and attachment points assessed with the selected seat and surrounding structure. Include any cage or other components involved.
Harness openings in a shell do not provide anchor points in the Chevelle. Follow the seat and harness instructions for the complete combination. For competition use, have the finished installation checked against the event’s requirements.
Trial the full assembly and itemise the quote
Planted’s sequence starts by checking the bracket in the car, assembling the upper parts outside it and trialling the complete assembly. Resolve alignment and access at that stage. Complete the fitting with the instructions and fastener requirements for the actual components.
Send the vehicle and mounting details with the exact seat version you want to compare. Cameron would keep the physical side and supplied pattern beside SB224 on the quote. Include the intended restraints and the driver requirements with the full parts list.
- Actual year, body configuration, original market and present steering position.
- Physical side and full SB224 reference, with the supplied pattern confirmed.
- Current mounting photographs and references of any adapters proposed for reuse.
- Exact seat version, runner and any side supports required.
- Driver requirements, access behind the seat and the restraint arrangement.
Common questions
Both Planted physical-side applications list Chevrolet Chevelle 1968-1972. Include the actual year and body configuration with the enquiry. Cars outside that period need their own bracket check.
Give the exact year, body and original market with the present steering position. Include photographs of the current mounts and lower seat assembly. Earlier changes need assessing against the proposed bracket.
The 1964-1967 Chevelle has a separate bracket application. Have the exact year checked with the vehicle mounts before ordering the fittings.
SB224DR is the Standard physical-left reference, labelled RHD Passenger Side in the shop. On an LHD car that is the driver’s position. Keep the reference and physical side beside the present steering details.
SB224PA is Planted’s Standard physical-right reference. Its matching shop label is RHD Driver Side. Reconcile the full reference with the actual position being changed.
Confirm the supplied Standard or Alternate pattern separately from the shop’s side choice. Check the exact runner dimensions and its upper connection to the seat or supports.
Standard includes the Recaro slider pattern; Alternate replaces it with Cobra/Scheel-Mann. Have the supplied version agreed with the exact upper assembly before ordering.
Specify the seat’s permitted mounting method with its seat-side fittings and any required runners or side supports. Have every attachment and the hardware checked as one assembly.
The Cobra Monaco Pro, Sparco Sprint and OMP TRS-E are options to compare. Try the exact seat with the driver. Confirm the permitted mounting method and clearance with the lower assembly.
The Sparco R100, Corbeau Sportline RRS and Cobra Misano Anniversary are base-mounted reclining options to discuss. Trial the exact model’s support, adjustment and controls with the proposed fittings.
Demonstrate the movement required with the exact seat and fittings in the car. A reclining backrest alone does not establish access behind the front seat. Check the controls and surrounding clearance as part of that trial.
The linked RRS listing supplies two seats. Confirm the bracket and complete lower assembly for each physical position. Ask for both sides to be itemised on the quote.
Include supports when the exact shell uses side mounting and permits those supports. Confirm their attachment positions and lower connection. A base-mounted seat has its own seat-side fitting method.
The 291mm and 405mm choices are handle-type labels in the runner listing. Get the exact runner reference and its attachment dimensions checked at both interfaces.
Planted distinguishes Narrow and Wide patterns. Narrow is included on both bracket versions; Wide needs Alternate or a separately specified modification. Agree the exact runner with the supplied bracket version.
Send photographs and the references of the existing lower components. Have any altered mounts or previous repairs assessed against the proposed assembly. Include every part you would like to retain.
Have their condition, dimensions and both attachment interfaces checked with the replacement seat and bracket. Their previous use in the car does not confirm the new combination.
Trial the full assembly with the driver and compare it with the current seat. The seat, supports, runner and vehicle bracket affect the position. Check visibility and control reach during the trial.
Specify a direct mounting method and its hardware separately, then trial the resulting position against the component instructions. Confirm that each driver can reach the controls and that the seat clears the cabin.
Record the actual belt and buckle attachments plus any affected seat equipment or connections. Agree the plan for those components with the installer. Include changes made during earlier conversions.
The harness needs its own routing and anchor assessment with the chosen seat and surrounding structure. Follow the seat and harness instructions for the full combination. Competition use also needs the completed installation checked against the event’s requirements.
Send the vehicle details, mounting photographs and the physical side with your preferred seat version. Include the proposed runner or supports. Add the driver, access and restraint requirements so the complete assembly can be checked.
Garreth’s top tip
Garreth would compare the exact seat with the driver’s support and access requirements before settling on the finish. Try the movement you will use in the Chevelle. Judge the position with the proposed lower assembly included.
Cameron’s fitting view
Cameron would put the actual vehicle mounts, physical side and supplied pattern beside the full SB224 reference. Include adapters proposed for reuse on the same enquiry. Trial the seat and all its lower components together.
Plan your Chevrolet Chevelle (1968-1972) seat change
Drop us an email or click to open a chat through our contact page. For a full seat and fitting-kit recommendation, call 0115 647 8650.
Back to the Car Seat Selector guide.
Sources: Planted’s physical-left and physical-right SB224 applications, installation instructions, runner-pattern guidance and the linked shop listings. Confirm the exact vehicle and current component instructions with the fitting enquiry.