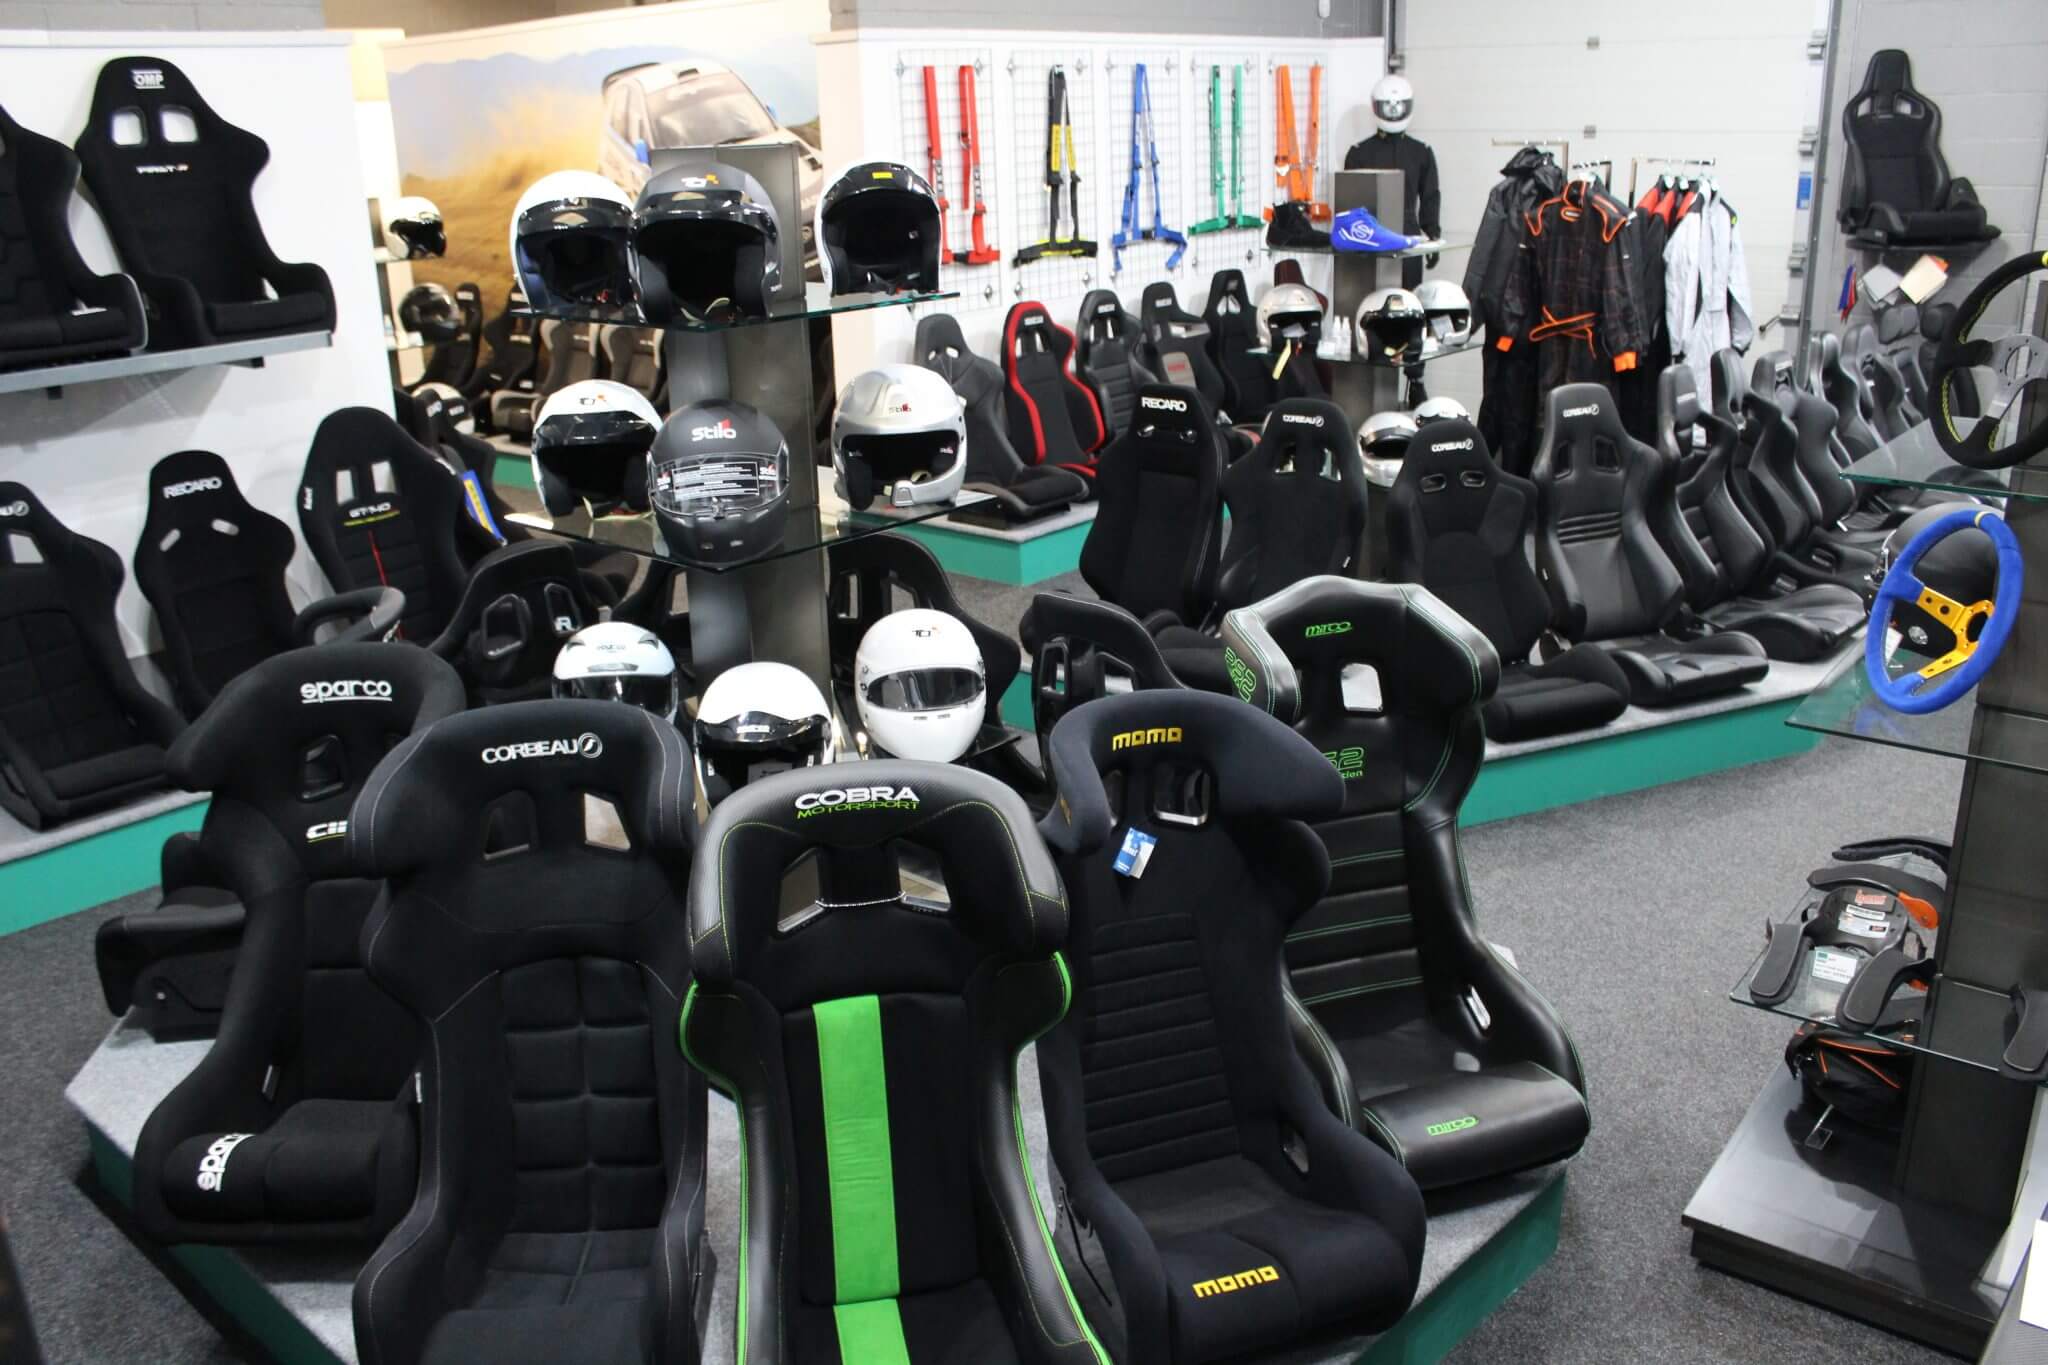
Honda Accord Fourth Generation Bucket Seat and Fitting Guide
Plan the seat and lower fittings for your fourth-generation Accord
A fourth-generation Accord seat change needs the car and the complete lower assembly identified first. Garreth would compare the support you want with the journeys you do. Try a recliner and a fixed bucket with the driver, including entry through the actual door opening. Keep that seat choice beside the fitting details when asking for a quote.
Cameron would start with the chassis identification, body and original market. Planted lists SB047 under a joint fourth- and fifth-generation Accord application. Specify your fourth-generation car when discussing it. The bracket, runner, seat and any supports need checking together for that vehicle.
At a glance
- Identify the generation, body, original market and gearbox alongside the registration year.
- Planted names fourth- and fifth-generation Accord in its SB047 application, labelled 1989 to 1997.
- SB047DR is Standard physical left; SB047PA is Standard physical right.
- Confirm Standard or Alternate runner pattern separately from the shop seating-side option.
- Match every upper connection and trial the complete seat position before completing the installation.
- Include the existing belt arrangement or proposed harness attachments with the seat enquiry.
Identify the fourth-generation car before using the date label
Honda’s generation history dates the fourth-generation Japanese Accord to September 1989 and the fifth generation to September 1993. American Honda describes the fourth generation as the 1990 to 1993 model range. Include the chassis identification and original market with the model year. A registration close to a changeover needs those details checked.
The body belongs on the enquiry too. American Honda describes coupe, saloon and wagon versions in its fourth-generation history. That history identifies the range; the actual bracket application still needs comparing with your car. Photograph the floor connections and any earlier adapters.
Honda also records production of the European fifth-generation Accord at Swindon from October 1992. Regional dates therefore need care when comparing a car with the joint 1989 to 1997 bracket label. Send the build details if the generation is unclear. Keep the exact body and market on the fitting quote.
Use the named SB047 application with the actual floor checked
Planted lists SB047 for Honda Accord fourth and fifth generations, 1989 to 1997. This guide uses that listing for a fourth-generation enquiry. Confirm the particular car and physical side before ordering. Include photographs if the existing floor connections or lower fittings have been changed.
The bracket is the vehicle-specific part beneath the seat and upper components. A base-mounted seat needs its lower connection or runner matched to that bracket. A side-mounted shell adds the specified supports. Keep the current fixing drawings with the complete package.
Planted develops its brackets around US left-hand-drive cars unless stated otherwise. Its FAQ asks for checks on RHD and other international versions, with some Canadian Acura and Honda floor exceptions. Include the original market and photographs or measurements of the floor. A shared generation name leaves the particular regional application to confirm.
-
From £222.60 Incl. VATFrom £185.50 Excl. VATPayPal CreditSelect options This product has multiple variants. The options may be chosen on the product page


Choose the physical side and the separate runner pattern
Planted’s Driver / Left wording follows its US steering basis. On a right-hand-drive car, physical left is the passenger position and right is the driver position. The shop option selects the seating side. Confirm the manufacturer reference and runner-pattern requirement separately.
Standard includes the RECARO runner pattern. Alternate exchanges that pattern for Cobra and Scheel-Mann. Planted says the narrow Cobra pattern is included on both, while wide Cobra and Scheel-Mann runners use Alternate. Compare the current runner drawing with the supplied bracket before settling the option.
| Runner pattern | Physical left | Physical right | What to confirm |
|---|---|---|---|
| Standard | SB047DR | SB047PA | Exact seat, runner and actual vehicle |
| Alternate | COBRA-SB047DR | COBRA-SB047PA | Cobra or Scheel-Mann runner pattern |
Compare recliners with the adjustment and access you need
The Sparco R100, Corbeau Sportline RRS and Cobra Misano Anniversary give you three recliners to try. Compare the cushion and back support with the driver. Move through the recline range you expect to use. Include access to the adjustment control beside the door and console.
Garreth would use the seating trial to settle support and entry before choosing the trim. Include anyone else who regularly drives the car. Check the runner movement needed by each person. The actual seat and lower assembly determine the position to measure.
The linked Corbeau RRS offer contains two seats. Count the bracket and other required fittings for each position when planning the pair. Keep the exact seat versions with the drawings used to check their upper connections.
-
From £282.00 Incl. VATFrom £235.00 Excl. VATPayPal CreditSelect options This product has multiple variants. The options may be chosen on the product page
-
From £1,649.00 Incl. VATFrom £1,374.17 Excl. VATPayPal CreditKlarna ReadySelect options This product has multiple variants. The options may be chosen on the product page


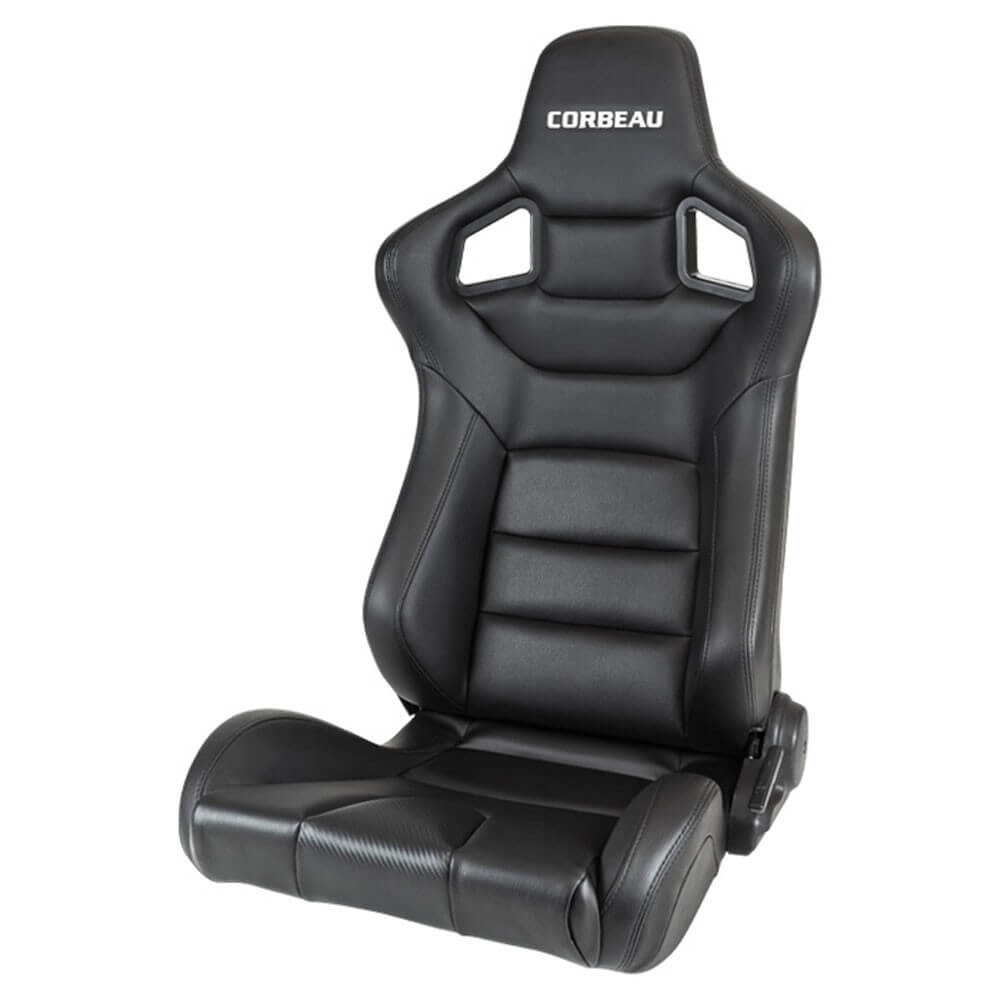



Try fixed buckets with the complete lower assembly
Compare the Cobra Monaco Pro, Sparco Sprint and OMP TRS-E Velour for the support you want. Check cushion depth and the position of the bolsters with the driver seated. Include any headwear intended for the car in the trial. Try entry and exit beside the actual door opening.
Use the instructions for the current seat version to identify its base or side-mounted arrangement. Match any supports and runner with the bracket below. Confirm the fixing drawing at each connection. Keep the hardware specified for the complete assembly on the quote.
A fixed bucket changes the way you enter the car and use the space behind it. Trial the access you need before choosing the final package. Include the passenger position if both front seats will be changed.
-
From £282.00 Incl. VATFrom £235.00 Excl. VATPayPal CreditKlarna ReadySelect options This product has multiple variants. The options may be chosen on the product page
-
From £252.00 Incl. VATFrom £210.00 Excl. VATPayPal CreditSelect options This product has multiple variants. The options may be chosen on the product page
-
From £244.40 Incl. VATFrom £203.67 Excl. VATPayPal CreditSelect options This product has multiple variants. The options may be chosen on the product page


Specify the Cobra runner version with the seat
Discuss the linked Cobra runners with an appropriate Cobra seat and the supplied SB047 pattern. Give us the exact runner version, including its width specification. Check its drawing at the seat and bracket connections. Confirm the handle and hardware required for that assembly.
Planted’s narrow and wide Cobra pattern distinction needs matching to the actual runner. Keep Standard or Alternate on the quote beside that reference. Trial both tracks parallel through the adjustment range each driver needs.
-
From £84.00 Incl. VATFrom £70.00 Excl. VATPayPal CreditSelect options This product has multiple variants. The options may be chosen on the product page
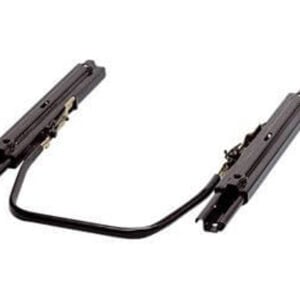
Check the Sparco kit at the upper and lower connections
The linked Sparco sliding kit is another runner to compare with the chosen seat and SB047 bracket. Check its current reference and fixing drawing at both connections. Include any supports between the shell and runner. Confirm the release handle remains accessible in the finished position.
Both sliding tracks need room to move and lock through the range you intend to use. Trial that movement with the complete seat and lower fittings in the car. Count a separate kit for each seating position that needs it.

Use supports specified for the exact shell and runner
The linked Sparco steel supports are a candidate for an appropriate Sparco side-mounted assembly. Compare the current seat instructions and support dimensions. Confirm how the supports connect to the selected runner or lower bracket. Include the specified fixing hardware.
Planted’s installation guidance separates sliding and fixed side-mounted arrangements. Its FAQ explains that its own side mounts are designed around runners between the mounts and bracket. Confirm the actual components before applying that guidance to a different support. A direct-mounted arrangement needs its own fixing pattern and instructions checked.

Trial the floor bracket before completing the upper assembly
Start by identifying the existing floor connections and any earlier adapters. Compare the selected bracket and physical side with the actual car. Use the current component instructions to establish the hardware and assembly order. Photograph a changed or unusual connection for an application check.
Planted’s instructions begin with a trial of the vehicle bracket against the floor. Check that connection before assembling the seat and upper components outside the car. Confirm the floor hardware against the actual bracket and instructions. Pause for a review if the supplied arrangement differs from the car.
Trial the complete package in the intended driving position before final tightening. Check access to each connection with the seat and supports in place. Follow the instructions for the exact components and hardware.
- Chassis identification, body, original market and physical side.
- Exact seat and runner references with their fixing drawings.
- Standard or Alternate bracket pattern and supplied components.
- Driver reach, locking movement and cabin access.
Measure reach and clearance with the driver in the car
For a manual car, check full clutch-pedal travel with the driver seated. Include steering reach and gear-lever movement in the same trial. An automatic car needs its selector and pedal reach checked through the intended seat adjustment. Measure the complete assembly to establish the finished sitting position.
Cameron would check the shell and controls beside the centre console and door. Open and close the door with the seat at the chosen position. Include recline movement and buckle access. Try entry and exit before completing the assembly.
A coupe, saloon or estate enquiry needs the actual body identified. Trial rear-seat entry or load access with the front seat in position if you need that cabin use. Keep any original-seat features you want to replace or retain on the enquiry. Confirm the specification of the chosen replacement seat.
Record the existing seat and its lower fittings
Photograph the original seat label and lower connections before selecting replacement parts. Show any previous brackets, adapters or altered fixings. Include the gearbox and body details with those photographs. An existing conversion needs checking against the proposed complete package.
List the comfort and adjustment features that matter to each regular driver. Compare the replacement specification and its connections with those requirements. Keep the current seat version on the fitting enquiry.
Specify the restraint arrangement with the seat
Show the car’s existing buckle and attachment when asking about a belt arrangement. Check the belt route and buckle access beside the replacement seat. Identify the hardware needed for that particular assembly.
A harness enquiry needs the exact seat, intended use and proposed attachment points. Confirm the mounting arrangement for the installation. We can then discuss the harness type and fittings with the seat package.
Send the fourth-generation identification and full shortlist
Include the chassis identification, original market, model year, body and gearbox. Mark the physical seating position you want to change. Add the current seat label and floor photographs. Show any existing adapters or altered lower fittings.
List the full seat, runner and bracket references you already own or want to discuss. Include Standard or Alternate when specifying SB047. Describe the adjustment and rear-cabin access you need.
Garreth would use those details to compare the seat shortlist with the driver. Keep the support and entry requirements beside the fitting quote. We can then work through a package for the particular Accord.
Common questions
This guide is for a fourth-generation Accord enquiry. Include the chassis, original market and body so that the actual application can be checked.
Planted lists SB047 under a joint fourth- and fifth-generation Accord application, labelled 1989 to 1997. Identify your particular generation and regional car when requesting the package.
Use the actual chassis and build details with the original market. Honda introduced its fourth-generation Japanese Accord in September 1989, while American Honda calls its range 1990 to 1993.
SB047DR is physical left. On a right-hand-drive car that is the passenger position.
SB047PA is physical right. On a right-hand-drive car that is the driver position.
The current manufacturer variants use COBRA-SB047DR for left and COBRA-SB047PA for right. Confirm the runner pattern separately from the shop seating-side option.
Standard includes the RECARO runner pattern. Alternate exchanges it for Cobra and Scheel-Mann patterns.
Planted says wide Cobra and Scheel-Mann runners use Alternate. Its narrow Cobra pattern is included on both bracket versions.
Send the chassis, original market, body and floor photographs or measurements for a check. Planted has not verified every RHD or international application.
The shortlist is Sparco R100, Corbeau Sportline RRS and Cobra Misano Anniversary, with the exact seat version and complete lower assembly to check.
The linked RRS listing contains two seats. Count the bracket and other fittings required for each physical seating position.
The cards show Cobra Monaco Pro, Sparco Sprint and OMP TRS-E Velour for a seating trial and exact-version mounting check.
Use the current seat instructions to specify the supports and their connection to the selected runner or bracket.
Check the seat drawing, each upper connection, supplied parts and actual vehicle application together.
Trial the selected runner and complete assembly with each driver through the movement they need. Check that both tracks move and lock.
Measure the actual seat and complete lower assembly in the car with the driver.
Trial full clutch-pedal movement, gear-lever access and steering reach with the seat in its proposed position.
Trial the entry and cabin use you need with that exact seat in position.
Include the exact seat, intended use and proposed attachment arrangement. We can then discuss the harness and fittings for that installation.
Show the chassis identification, current seat label, floor connections and any earlier adapters, with the physical side clearly marked.
Garreth’s top tip
Garreth would try the seat with the driver before choosing the trim. Include entry and rear-cabin access alongside the support you want. Keep the exact seat version with the fitting shortlist.
Cameron’s fitting view
Cameron would compare the chassis, body and original market with the supplied SB047 reference. Confirm the physical side and runner-pattern option separately. Trial the complete assembly and its connections before completing the installation.
Plan your fourth-generation Honda Accord seat change
Drop us an email or click to open a chat through our contact page. For a full seat and fitting-kit recommendation, call 0115 647 8650.
Back to the Car Seat Selector guide.
Sources: Honda generation history, American Honda model history and Honda European production history; Planted left and right applications, FAQ and installation instructions; current linked shop listings. Confirm the actual car, current seat and supplied package when completing the fitting enquiry.