Tall and long are not the same adjustment
A tall bracket gives more vertical range. A long bracket gives more fore-and-aft range. Neither can correct a seat, floor frame or cockpit that was never checked together.
Start with the driver in the seat and the steering wheel and pedals where they will stay. Then work down through the seat holes, side mounts and vehicle frame. Buying the tallest bracket first often puts the driver higher, not lower.
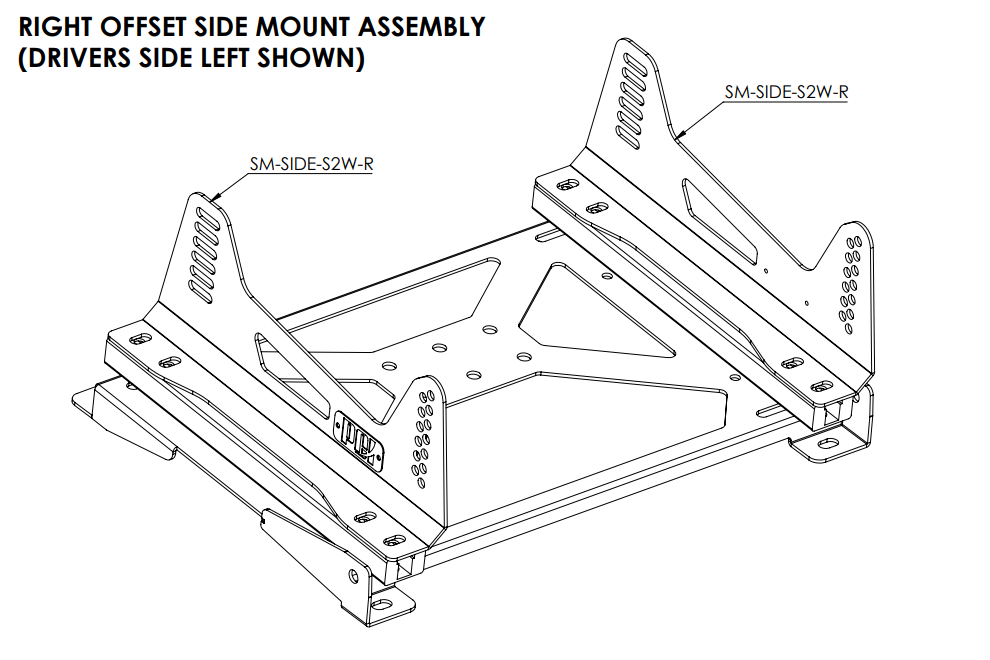
The final position also depends on the seat shell, floor or vehicle frame, runners, spacers and hardware. Check the complete stack before drilling or ordering.
Record the position you are trying to reach
Measure from fixed points in the car, not from the old cushion. Record the clear width at the base, distance to the wheel and pedals, available headroom and the height of the proposed floor frame. Sit in the new seat before settling the numbers.
Garreth normally asks for photographs from the door opening and directly underneath. A tape measure in the picture is far more useful than saying the old seat felt too high.
Identify the seat
Use the exact model and its current mounting drawing.
Measure the support below it
Include the vehicle frame, runners and any cross-bars.
Set the driver
Check helmet, shoulder, knee and steering-wheel clearance.
Compare slot range
Make sure the bracket can reach the required holes without sitting at the end of every slot.
Choose the direction of adjustment you actually need
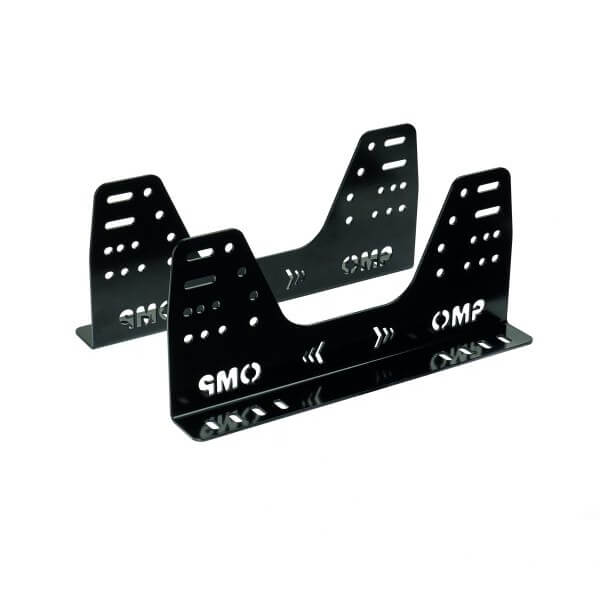
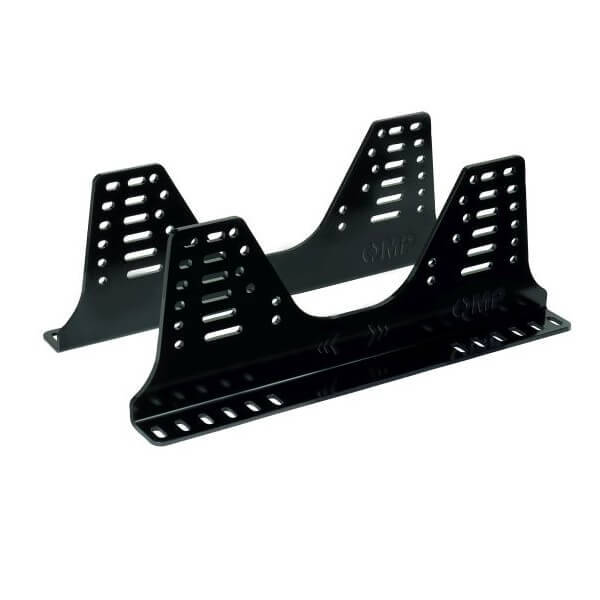
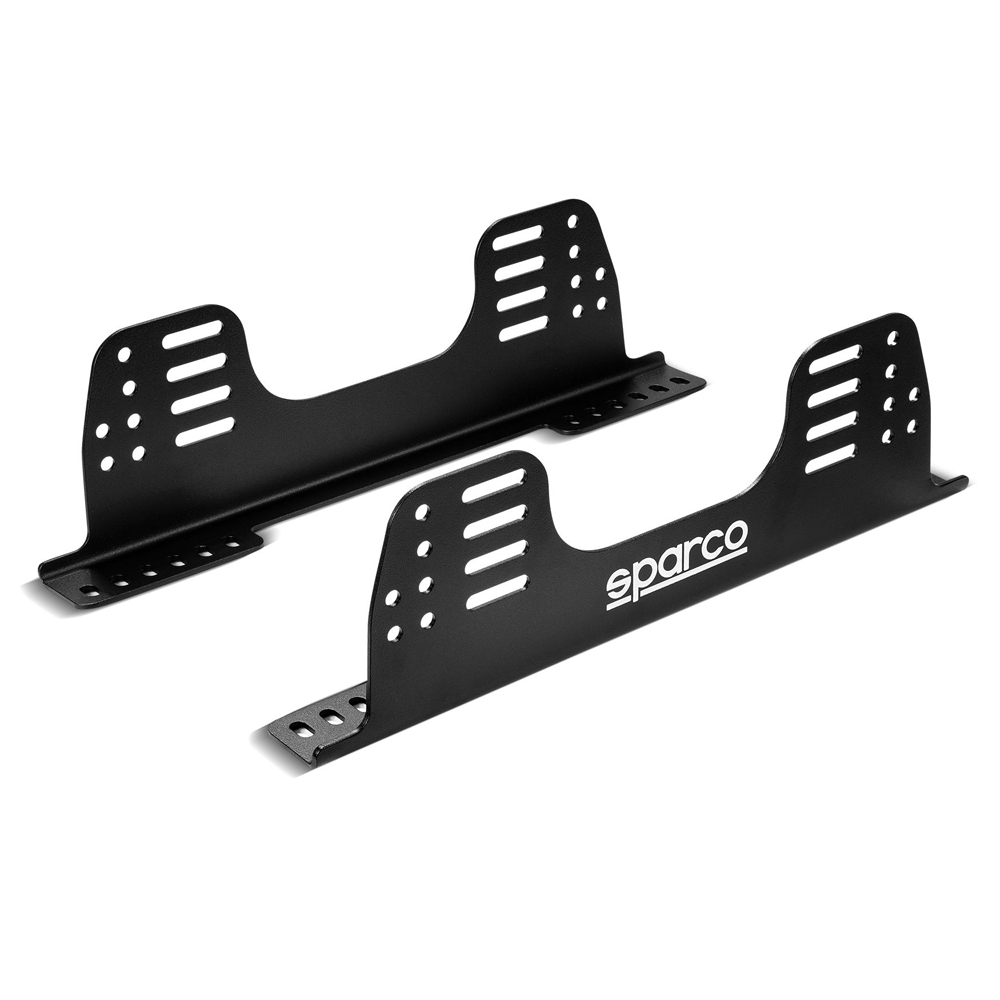
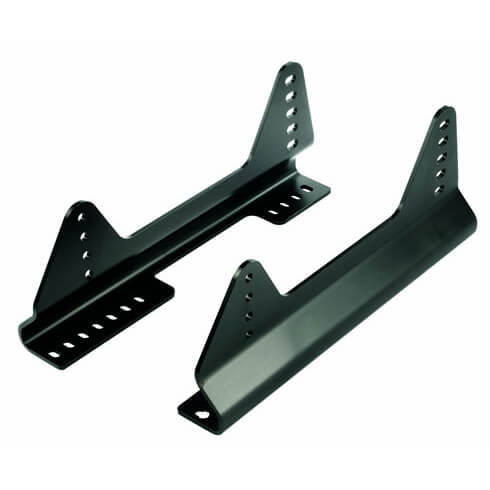
Tall side mounts extend the vertical hole pattern. They help where the seat needs more angle or must sit above an obstruction. Long mounts extend the footprint and fore-and-aft slot range. They are useful when the vehicle frame lands too far forward or rearward.
Some brackets do both, but the extra metal still has to fit the cockpit. Check door bars, tunnel clearance and the full movement of a runner.
Use angle to support the driver, not to chase a look
Raise or lower one end only after checking what it does to thigh support, pedal reach and helmet position. Too much rearward tilt can lift the knees into the wheel. Too upright can leave the lower back unsupported.
Keep left and right mounts on matching holes. The seat must not be twisted to make a reluctant bolt line up.
If the two side mounts do not sit parallel, stop and find the cause. Pulling them together with the seat bolts loads the shell and is not an adjustment method.
Build the stack once, then inspect it again
Use the seat, bracket and vehicle instructions for hardware grade, washers, thread engagement and torque. Move the seat through its full runner travel and check every side for contact. Harness slots and belt routes must still suit the driver in the final position.
After the first use, inspect the hardware and look for witness marks where the shell, bracket or runner may have moved.
Side-mount position questions
Will tall side mounts make my seat lower?▾
Not by themselves. They add vertical adjustment, but the lowest position is set by the hole layout, bracket base, vehicle frame, runners and floor clearance.
Can I turn a side mount around?▾
Only if the manufacturer drawing permits that orientation and every hole, bend and load path still matches the application.
Do I need runners?▾
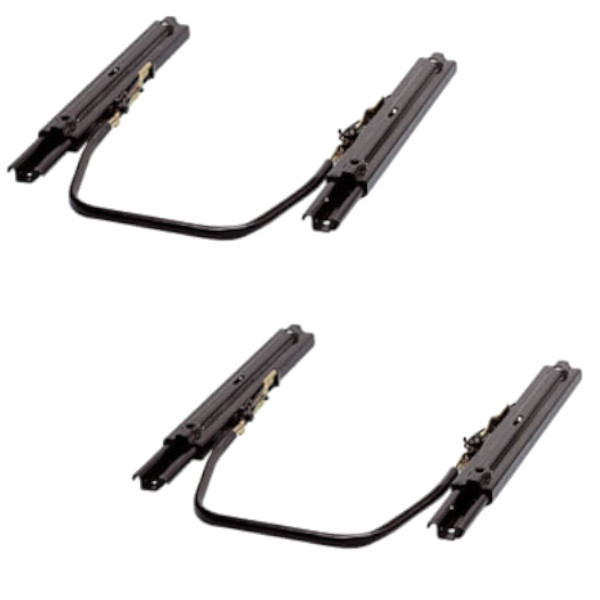
No for a known single-driver position. They are useful for shared cars and access, but add height and another moving interface.
What should I send for a fitment check?▾
The exact seat, side mount and vehicle frame, driver measurements, wheel and pedal position, and clear photographs with a tape measure.
We will check the joining parts
Give Garreth or Cameron the seat, bracket, frame and car together. Add the driving-position problem you are trying to solve.
Browse side mountsContact usVisit the showroom