Fitting Kirkey seats: mounts, support and planning
Kirkey aluminium racing seats are universal: match the chosen model and your car with suitable frames or side mounts and the required rear support.
Start with the seat’s series number and its installation guide. The hardware and support arrangements differ, so a single bolt count or a photograph cannot describe every Kirkey installation. This guide helps you plan the job and identify the instructions your fabricator needs.
The Kirkey range and what each series is for
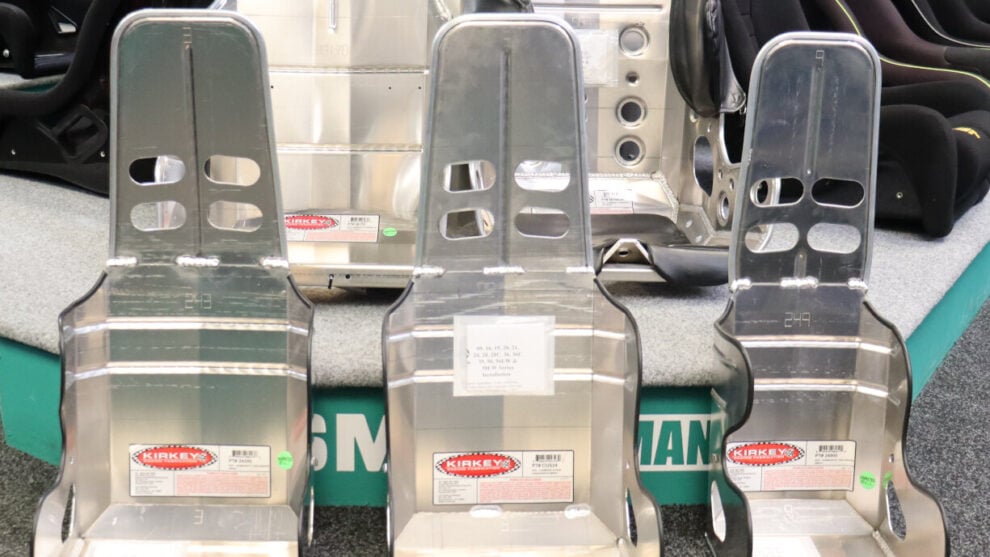
Our original range overview covered the 38 Series standard layback, 55 Series Pro Street drag seat, 55V vintage design, 56LW and 58LW lightweight seats, 65 Series adjustable road-race kit and 71 and 81 Series containment designs. There are also other containment series and dedicated youth models, including the 24 and 34; their fitting instructions must not be borrowed from an adult seat.
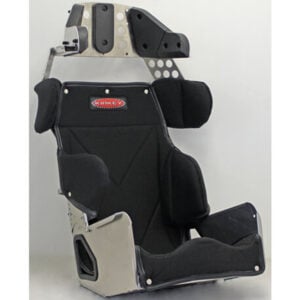
The four original product cards below are the 58LW, 65 Series, 71 Series and 99214 lower side mounts. Choose the series for the application before comparing widths, layback and head support.
The 56LW and 58LW are 10-degree and 20-degree lightweight designs respectively. Kirkey’s current 65 Series specification gives an 18–23-degree installation angle and 2.5 inches of vertical adjustment. Its separate back section is assembled at the chosen height; these seats are not all one-piece shells or recliners that you adjust while driving.
Check package contents on the exact order. Our 65 listing describes a seat and cover with mounts separately listed, while Kirkey’s current manufacturer kit includes 99214 and 99212 mounts. Do not assume every seller’s package or every Kirkey series contains the same parts.
-
From £630.00 Incl. VATFrom £525.00 Excl. VATPayPal CreditKlarna ReadySelect options This product has multiple variants. The options may be chosen on the product page
-
From £599.98 Incl. VATFrom £499.98 Excl. VATPayPal CreditKlarna ReadySelect options This product has multiple variants. The options may be chosen on the product page
-
From £752.10 Incl. VATFrom £626.75 Excl. VATPayPal CreditKlarna ReadySelect options This product has multiple variants. The options may be chosen on the product page
How Kirkey seats are mounted
Match Kirkey’s seat-series and bracket instructions; the pre-punched assembly holes in an adjustable seat do not establish a seat-to-car bolt pattern.
Kirkey advises against stock sliders and adjusters. The reviewed seat instructions require structural frame or roll-cage connections and prohibit attachment to sheet metal. The product name “floor mount” does not permit fixing the bracket to an unsupported floor panel.
| Seat | Instructions | Lower mounting | Rear mounting |
|---|---|---|---|
| 58LW | 58LW guide | At least four 5/16in (8mm) bolts through the bottom to frame or cage. | At least two 5/16in (8mm) bolts below the shoulder openings to the cage. |
| 65 Series | 65 guide | Four bolts, minimum 5/16in (8mm), through the bottom, or the specified 99214 arrangement. | At least two bolts, minimum 5/16in (8mm), for the direct rear connection; bracket instructions also apply. |
| 71 Series | 71 guide | Four bolts, minimum 5/16in (8mm), through the bottom, or the specified 99214 arrangement. | At least four bolts, minimum 5/16in (8mm), using the pre-punched rear mounting holes. |
Follow the full instructions for the actual seat and mounting method, without treating “four plus two” or the manufacturer’s parenthetical metric sizes as universal fastening specifications.
The 71 guide names rear bracket 99211. Kirkey’s current 99212 product page also lists the 71 among its applications. Confirm the supplied bracket and current instructions with Kirkey when matching an older seat or guide to current parts.
Planning the installation
- Check the class and event rules before choosing the seat. Ask the technical contact about accepted seat approvals, supports and installation requirements.
- Identify the series, width and full order code. Use the series drawing and sit in the seat where possible; a nominal width alone cannot establish driver fit.
- Mock up the position with the driver in normal driving kit. Check steering and pedal reach, visibility, helmet clearance, exit space and the belt openings.
- Have the fabricator assess the structural attachment points and rear support. Plan those load paths before deciding on brackets or making holes.
- Check the door, cage, transmission tunnel, controls and belt routes throughout the proposed installation.
- Record the final position and mounting plan before cutting. Obtain any required approval for changes to the chassis or cage.
Tools, materials and parts
The useful tools remain a drill and suitable bits, clamps, measuring equipment, a level and equipment for deburring and finishing. Welding equipment is needed only where the agreed design requires welded work, carried out by someone competent in that structure.
Have the fabricator specify materials, tube sections, load spreading and hardware for this installation; generic dimensions or a torque copied from another build are insufficient.
We list 99214 side mounts and the 99212 rear mount separately, but check the contents of the specific seat kit before adding mounts to your order.
Fitting sequence: follow the seat and bracket instructions
Assemble adjustable seat sections exactly as Kirkey specifies. Use the supplied small assembly bolts in their designated holes, keeping them separate from the larger seat-to-car fasteners. Set the driver’s shoulder or head position as shown before fastening the seat into the car.
Next establish the lower support. A suitable frame or the specified side mounts must connect to the structure identified in the installation plan. Hole placement, spacing, edge distances and access for fastening need resolving before drilling; do not copy a rectangle from a different brand.
Read the 99214 bracket instructions if using those mounts: they specify at least two 5/16in (8mm) bolts from each bracket to the seat and at least four to the frame or steel cage on each side. That is a requirement for each bracket, not four chassis bolts shared across the pair.
Then fit the series-specific rear support. The 99211/99212 bracket leaflet specifies its own connections: at least three 5/16in (8mm) bolts to the seat and three 3/8in (10mm) bolts to the steel cage. This does not cancel a seat-series requirement for more rear bolts or establish the correct arrangement for another seat.
Confirm the specified rear load path with Kirkey and the fabricator; a low stay or a bracket merely touching the shell does not establish that the seat is correctly supported.

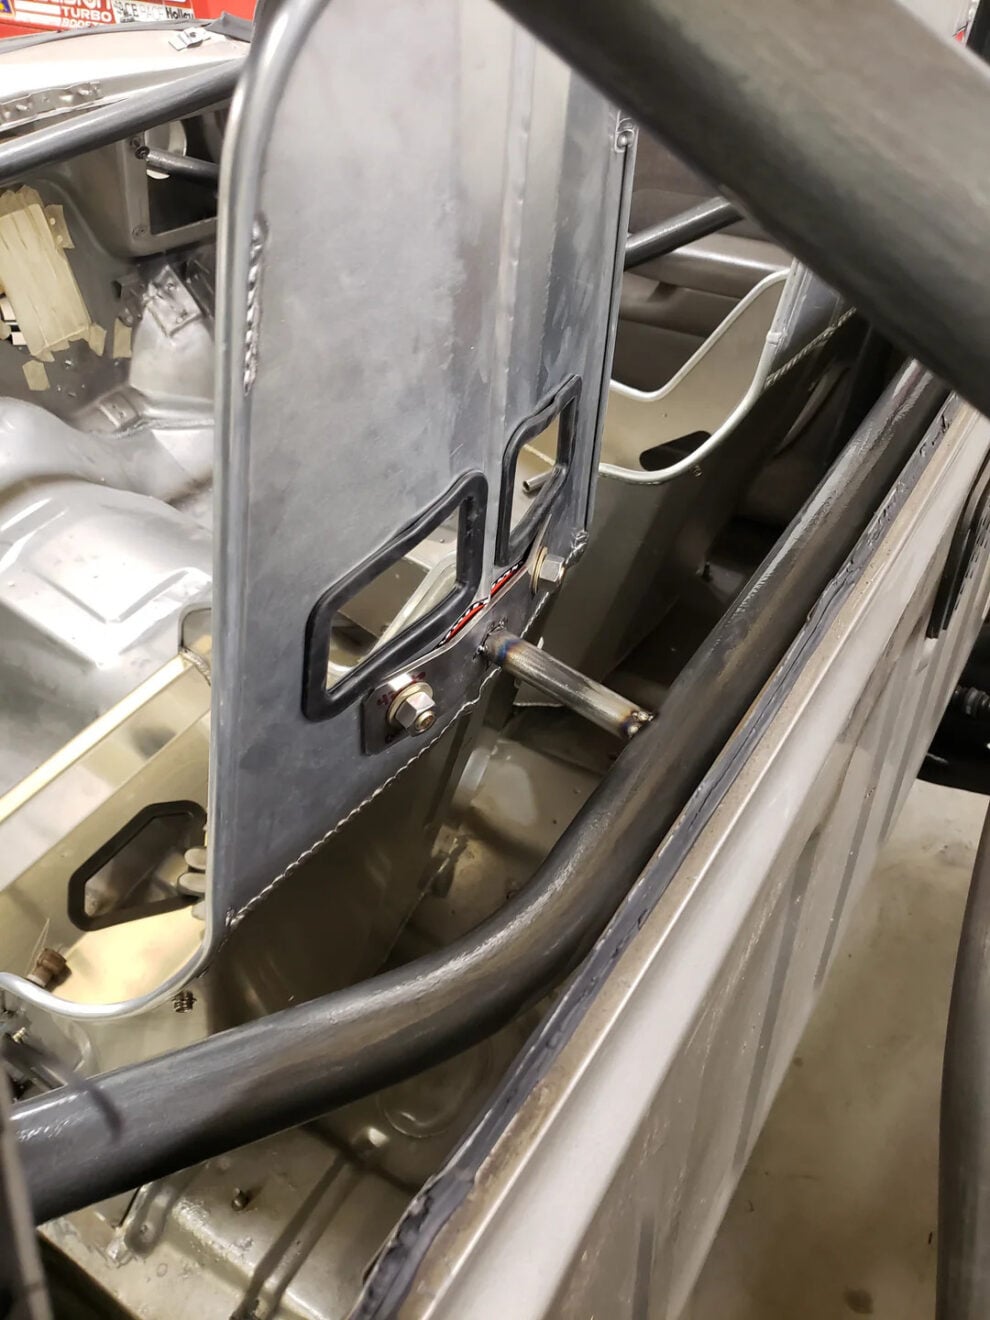
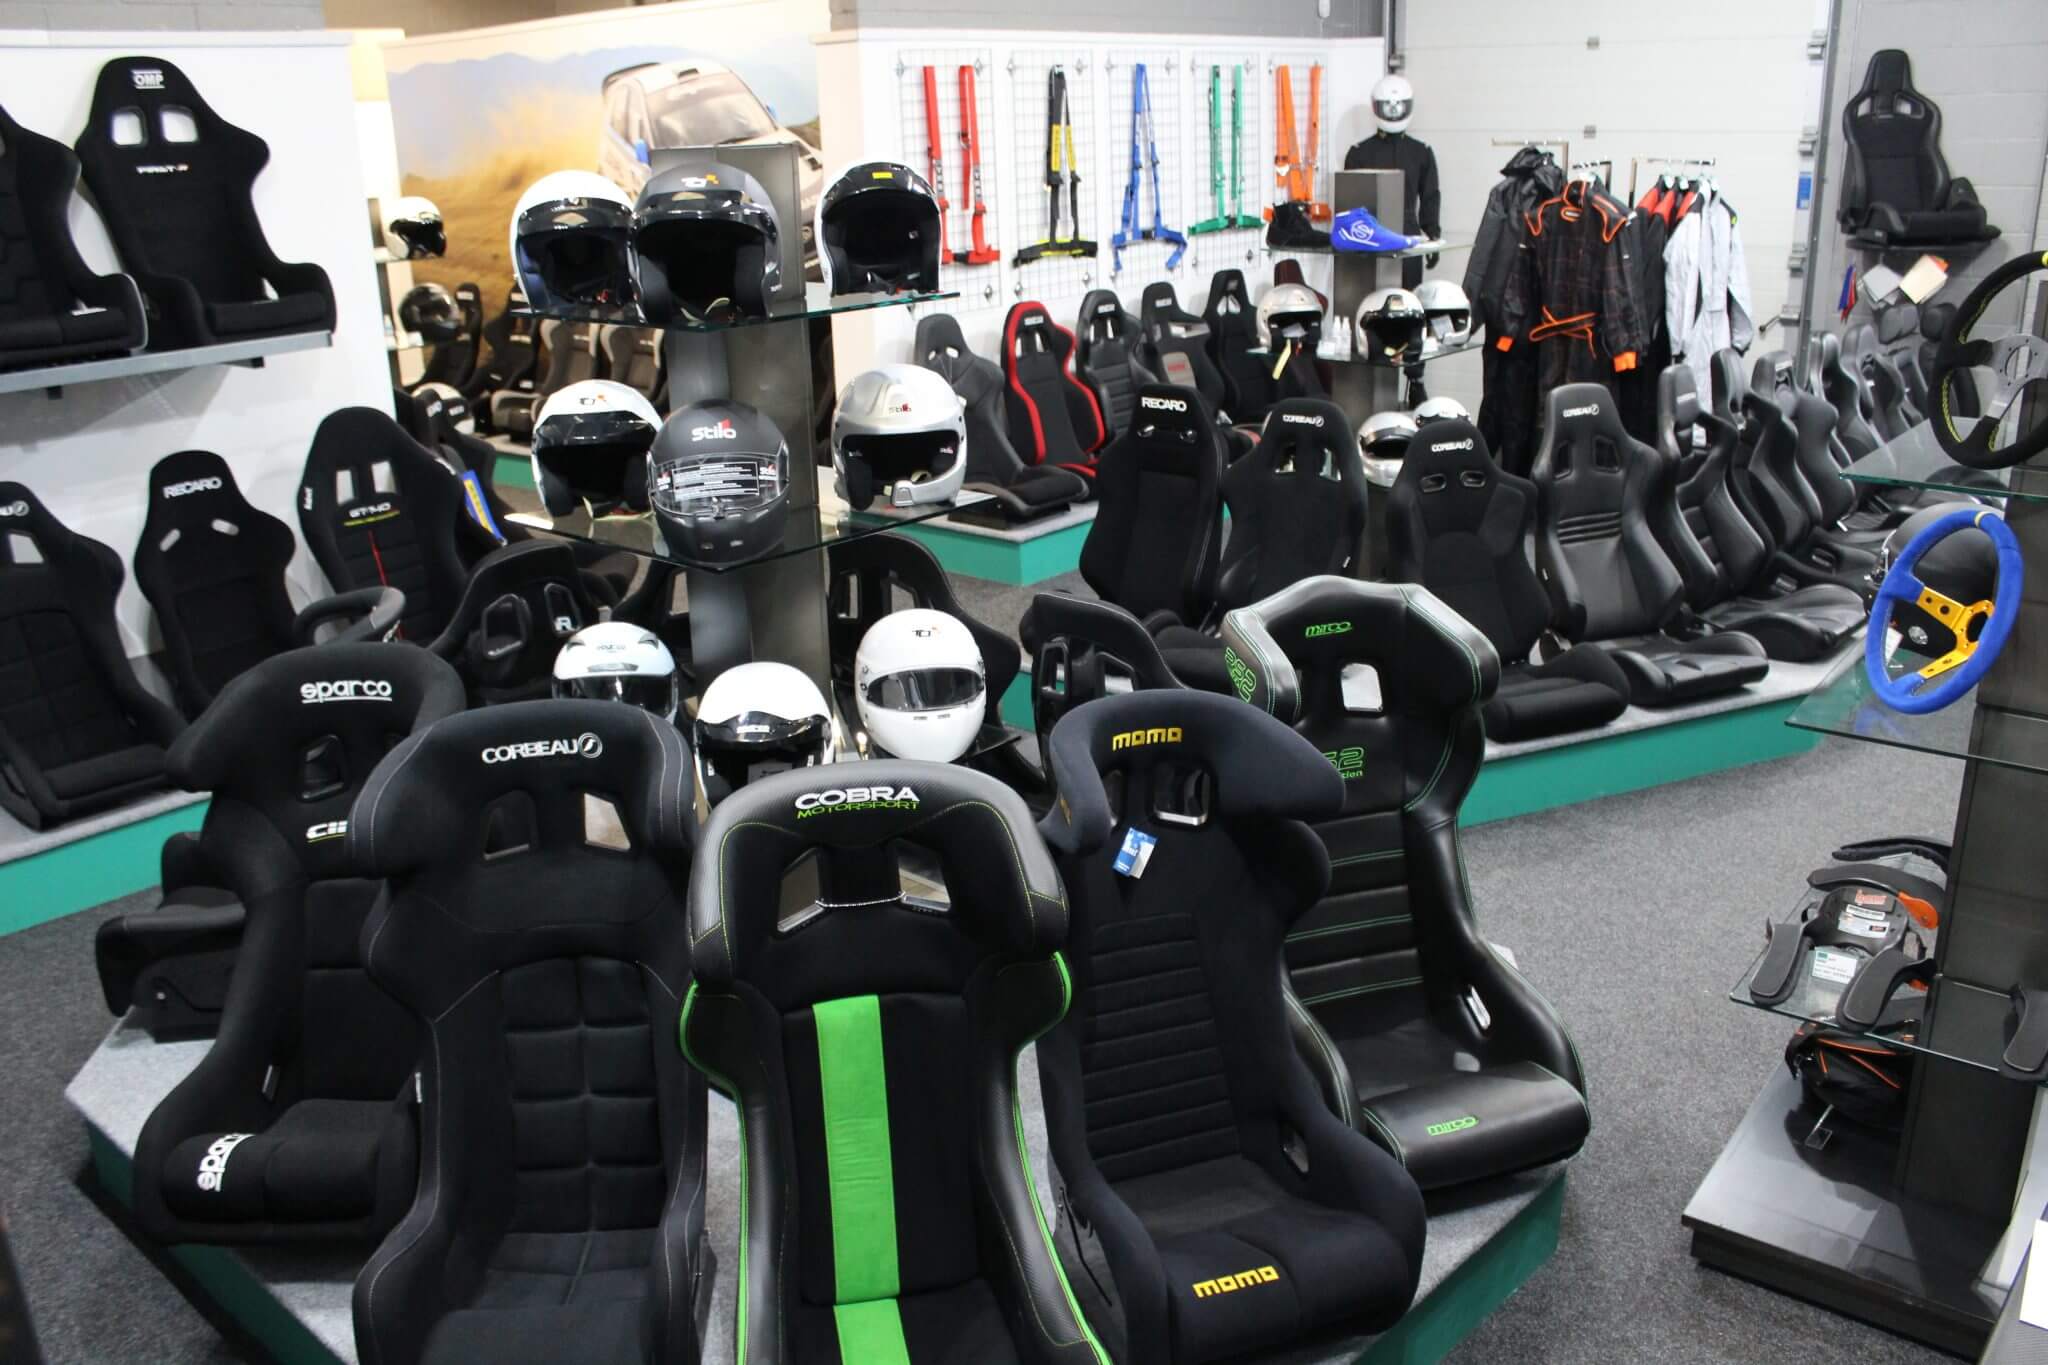
This retained photograph shows a seat-back connection in a caged car; it cannot establish the full fixing arrangement or compliance for a particular seat.
Check the required attachment areas against Kirkey’s drawings, using this photograph only as context.
Finally check the completed assembly with the driver in full kit. Follow the applicable instructions for tightening, locking and inspection; do not substitute a generic torque figure based only on bolt diameter. Verify clear belt routes and that fasteners, brackets and sharp edges cannot contact the driver or webbing.
Have the fabrication and welds inspected by someone qualified for the work, and arrange any event checks before use. Movement or loose hardware needs investigating, but a shake test cannot prove crash strength. Follow the manufacturer’s inspection schedule and recheck after use as directed.
Scrutineering and the rules
Check the exact class rules for the seat and mounting system; aluminium construction, a head surround or a general racing description is not an approval.
The models shown here are not advertised as FIA-homologated: confirm the event’s required approval before ordering, as adding a brace does not change the seat’s homologation.
Kirkey’s reviewed 58LW and 71 manuals and bracket leaflets state that they are not intended for highway use. Universal fit describes the racing-seat application and fitting approach; it is not a road-use approval. Kirkey’s own FAQ explains the fixed-mounting and cage or roll-bar requirements.
Bring the series instructions, bracket details and installation records to the checks, and replace any seat that Kirkey identifies as bent, wrinkled, separated or deformed.
Harness routing through a Kirkey seat
Plan the harness while setting the driving position. Check the exact seat openings, harness type and frontal head restraint together, using the belt maker’s instructions and current event rules. The presence of a crotch opening alone does not approve every five- or six-point routing.
Keep webbing clear of slot edges, brackets and fasteners, with adjusters able to work without binding. Do not cut new openings or alter the shell on the strength of a general fitting guide; Kirkey recommends against modifying a purchased seat.
Our motorsport harness fitting guide provides background. The older SFI seatbelt leaflet linked by Kirkey has a defined upright-seating scope and does not replace the exact belt manufacturer’s instructions. There is no universal shoulder angle or floor-anchor design in this article.
Padding, head support and heat
Order the cover and any additional supports for the exact series and size. Kirkey’s FAQ notes that cover fit is model-specific; a generic cushion is not a substitute for the specified head support or containment padding.
With an adjustable containment seat, set the head and shoulder sections as its instructions show and check vision, helmet clearance and the restraint combination. The 71 guide, for example, relates the head restraint to the driver’s cheekbone and checks peripheral vision.
Our Kirkey resin-insert article discusses filling the space around the driver. Confirm suitability, required volume, supplied equipment and forming instructions for the actual seat and insert before ordering; the example in that article is not a universal kit-size or current-availability claim.
Have the builder assess clearance and shielding around nearby hot components; padding cannot compensate for a damaged shell or unsuitable mounting.
Getting it checked, and getting help
Send Garreth or Cameron the Kirkey series and width, the car, intended use and relevant class rules. Photographs of the proposed lower and rear mounting areas help us identify the right questions and parts; they cannot certify the finished structure.
Keep the instructions with the build records and follow Kirkey’s recommendation to use an experienced installer for fabrication beyond your skills.
Can I bolt a Kirkey seat to standard runners?
Kirkey advises against stock sliders and adjusters. Its instructions describe fixed structural mounting and the required rear support. Identify the exact seat, car and event before choosing the frames or side mounts.
How many bolts does a Kirkey seat need?
Use the exact seat and bracket instructions. The 58LW direct-mount guide specifies at least four lower and two rear bolts; the 71 guide specifies at least four rear bolts. A bracket introduces its own connection requirements, so four plus two is not a universal rule.
Can I mount a Kirkey seat to the floor pan?
The reviewed Kirkey instructions prohibit mounting to sheet metal. A product called a floor mount still needs the specified structural connection to the frame or steel cage. Have the car’s structure and installation design checked by a competent fabricator.
Are Kirkey seats FIA homologated?
The Kirkey listings shown here are not advertised as FIA-homologated seats. Check the exact seat and event requirements before ordering; additional supports do not give a seat a different homologation.
Do you sell Kirkey brackets?
Yes. We list 99214 side mounts and the 99212 rear mount. Kirkey seats are universal racing seats, so tell us the exact seat and car to check the correct frame or side mounts, rear support and supplied kit contents together.
Start with the series number and the car
Send the seat details, intended use and photographs of the proposed mounting areas before choosing the parts.
Choosing Kirkey seats and mounts?
Tell us the series, car and intended use so we can help check the parts.