

Real Race seat inserts
There are two quite different jobs in this range. A bead-and-resin kit creates a moulded insert around one driver. An inflatable pad fine-tunes the lower back in a seat that already fits. Work out which problem you have before choosing a product.
If the pelvis and shoulders move, investigate a proper insert or a better shell. If only the lower back lacks contact, start with a pad. For a moulded insert, arrange the vacuum pump and hose, check the exact box contents and run a complete dry fitting before opening the resin.
The previous page ranked products by historic sales and called one volume a safe choice for an average driver. Neither tells us how much empty space exists in your car. Live product cards show current prices; measurements decide the kit.
A moulded insert and a lumbar pad solve different problems
Start by finding where the driver lacks support.
Consider a moulded insert
- Large gaps around the pelvis or torso
- A tub forms the basic seat
- One shell must suit different drivers
- The driver needs a repeatable custom position
- A production shell cannot provide the right support
Try a lumbar pad first
- The pelvis is already located
- Shoulder support is correct
- Only the lower back has a small gap
- The seat is shared and needs quick adjustment
- No belt slot or side support needs changing
A pad is not the cheap version of a full insert. It is the correct tool for a smaller job. Equally, adding pads around an unsuitable shell is not the same as making a continuous, properly planned driver insert.
We sit the driver fully back and look for daylight and movement. If it is only the lower back, we do not need to turn the fitting into an afternoon with resin.
Cameron, GSM PerformanceShape first, mix second
The dry run is where the driving position should be solved.
Set the car
Fix the pedal reach, wheel, mirrors and supporting shell before fitting the liner.
Dress the driver
Use normal race footwear, helmet and FHR so eyeline and clearance are real.
Distribute the beads
Move material into the areas that need support without forming ridges or blocking harness routes.
Test the position
Check comfort, steering effort, visibility, belt path and the ability to leave the cockpit.
Run the vacuum equipment
Connect the pump and hose and confirm the liner holds the intended shape.
Mix only when ready
Use the resin instructions, safety data, ratios and curing conditions supplied with the exact kit.
Use the supplied instructions and personal-protection guidance. If a resin pack, label, safety sheet or instruction is missing or damaged, stop and obtain a replacement from the supported supply route.
Six volumes, chosen from the space in the car
The number on the kit is material capacity, not a body-size chart.
| What changes the volume | Why it matters |
|---|---|
| Insert height | Pelvis-only support uses less than an insert reaching the shoulders |
| Shell or tub width | More void around the driver needs more material |
| Driver differenceMEASURE THE VOID | A smaller driver in a shared shell may need a more substantial insert |
| Finished position | Material below or behind the driver changes height and reach |
| Cockpit obstructions | Tunnel, controls and side structures change the available bag shape |
The live range currently covers 15, 30, 40, 50, 70 and 90 litres. Use photographs and rough measurements to narrow the choice. Do not buy excessive volume on the assumption that unused material has no effect; it still has to be managed during the mould.


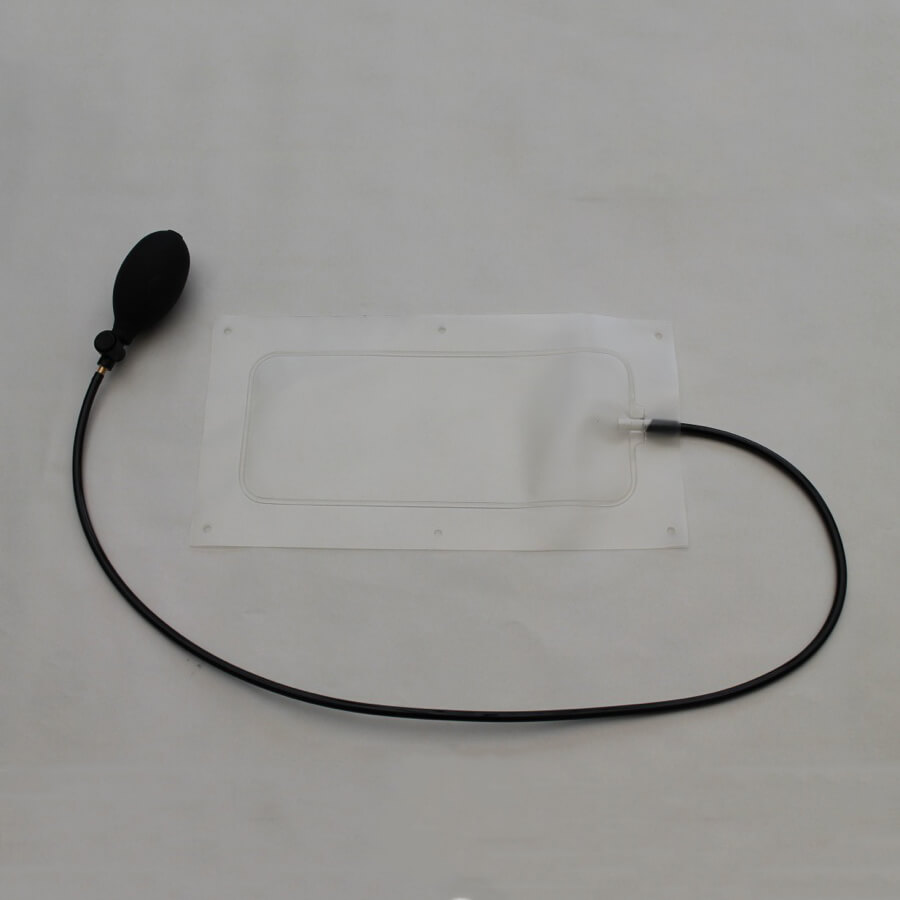
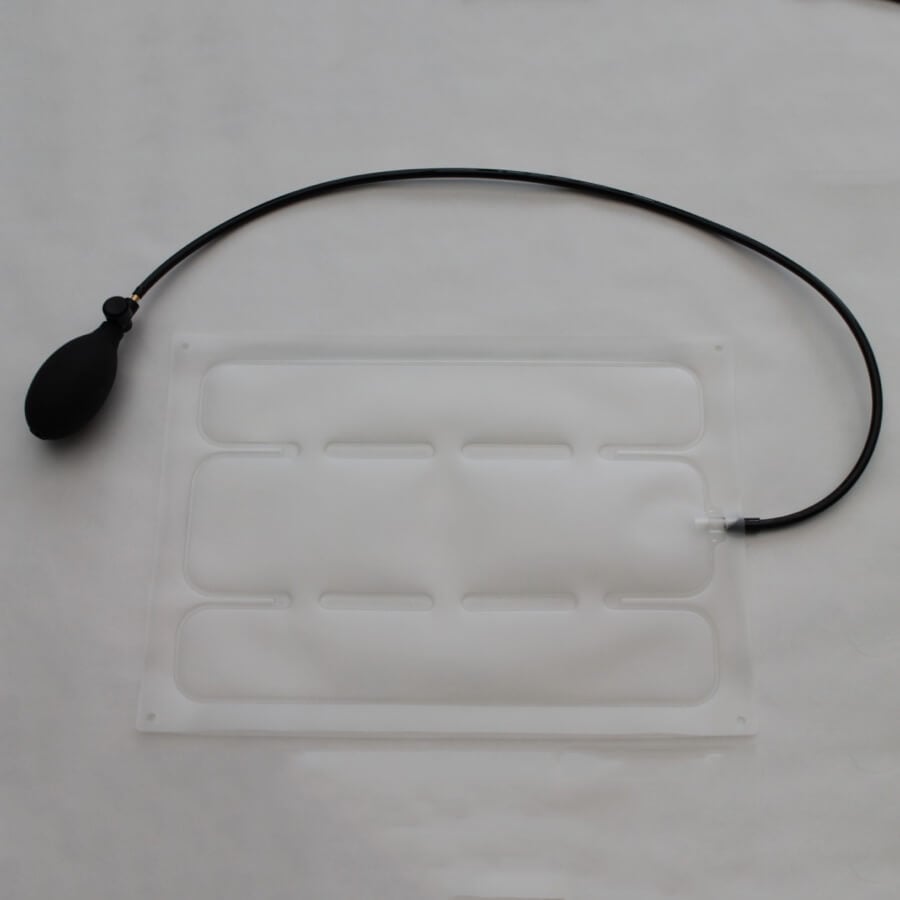
Single-cell or three-cell adjustment
Both fine-tune a seat; neither replaces correct shell fit.
| Pad type | How it adjusts | Useful when |
|---|---|---|
| Single-cell | Inflates one larger chamber | You need even support across a broader lower-back area |
| Three-cell | Uses separate connected areas that can be shaped under pressure | You want to tune where the support sits |
Start nearly flat and add air in small steps while the driver remains in the normal position. If the pad pushes the torso forward, changes shoulder contact or makes the lap belt sit badly, take air out. Route the bulb and hose away from runners, pedals, webbing and sharp edges.
Check the box for the exact kit supplied
Older and current descriptions on the site have not always agreed.
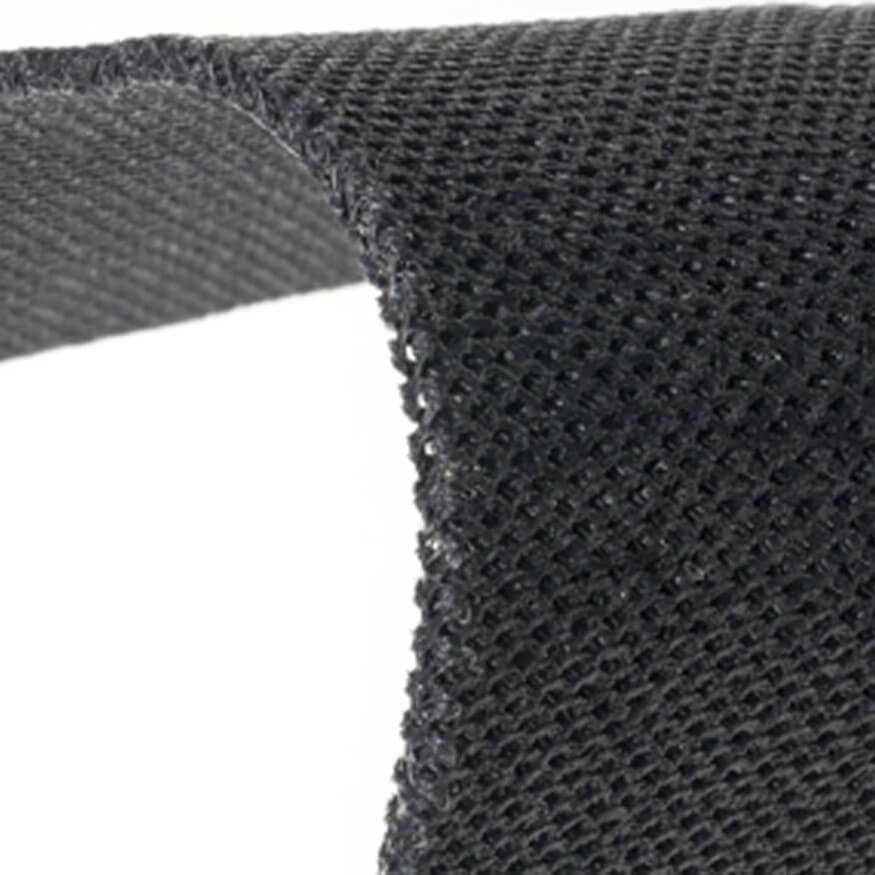
Current product documentation for the Real Race insert kits we checked lists the bead liner, resin and hardener mixing pack, pigment, full instructions, fire-retardant brushed-nylon covering and spray adhesive. It also says a vacuum pump and hose are required separately.
The old brand guide said the covering always had to be bought as a separate item. Because those descriptions conflict, inspect the contents list for the exact litre kit at the time of order. The separate fabric product remains useful for additional finishing or replacement work where the manufacturer permits it.
Identify the liner valve, chemical pack, instructions, cover and adhesive. Test the separate vacuum equipment. Do not discover a missing part after the driver is in position and the resin has been opened.
Do not turn a fabric claim into approval for the whole insert
The exact event rule and material evidence decide.
The product documentation describes the supplied covering as fire retardant. That statement applies to the covering. It does not by itself prove the fire behaviour or FIA approval of the liner, cured bead-and-resin core, adhesive and finished assembly.
The Real Race bead-and-resin material is not named on the current FIA Technical List 50. Some categories require material from that list; many club applications do not. Read our seat-insert fire-safety guide for the corrected evidence check, then send the exact championship wording if you need help interpreting the product requirement.
Keep records
- Exact kit and batch
- Instructions and safety sheet
- Any material test supplied
- Fitting photographs
- Written organiser answer where needed
Inspect before reuse
- Cracking or loose beads
- Heat or chemical exposure
- Torn or repaired cover
- Changed belt routes
- Changed driver position
If the rule names a material or technical list, that is the document we need to compare. A product being used in racing is not the same thing as every championship approving it.
Garreth, GSM PerformanceReal Race insert questions
What does Real Race make?▾
The range on SportSeats4U includes poly-bead and resin seat-insert kits in several volumes, inflatable lumbar pads and finishing fabric. Check the live category because range and contents can change.
Do I need a full moulded insert?▾
Only when the driver needs support through more of the shell or tub. If the seat fits at the pelvis and shoulders but leaves a lower-back gap, an inflatable lumbar pad may be the simpler answer.
Which litre kit do I need?▾
Litres describe material volume. Choose from the space between the driver and shell, how high the insert must reach, the cockpit shape and whether drivers share the car. There is no universal litre size for an average driver.
Is a vacuum pump included?▾
Our current product documentation says curing needs a vacuum pump and hose and directs customers to the accessory. Confirm the exact kit contents and arrange the working equipment before mixing.
Are cover fabric and adhesive included?▾
Current product documentation for the Real Race kits we checked lists finishing fabric and spray adhesive. Older copy on this brand page treated fabric as a separate purchase. Check the contents of the exact kit supplied before the fitting day.
Are Real Race inserts FIA approved?▾
Do not assume so. The bead-and-resin material is not named on FIA Technical List 50. Check the rules for your discipline and obtain written material evidence where a particular list or standard is mandatory.
Can a lumbar pad make a large seat fit?▾
It can fill a modest lower-back gap. It cannot correct a base that is too wide, unsupported shoulders, incorrect harness-slot height or an unsuitable shell.
Can two drivers share one insert?▾
A moulded insert is shaped around one driver. Teams can use separate inserts or additional approved padding to manage driver changes, but belt routes, eyeline and removal must work for each setup.
Can I practise the process before using the resin?▾
Yes. A dry fitting is essential. Position the liner and beads, set the driver and run the vacuum equipment without committing the resin. Follow the supplied instructions for the actual mix and cure.
Show us where the driver moves
Send side and front photographs of the driver in the supporting shell, plus the car, event and driver measurements. Garreth or Cameron can help decide whether this needs a moulded insert, a lumbar pad or a different seat.
Send fit photographsBrowse Real RaceRead the fire guideCall 0115 9893488